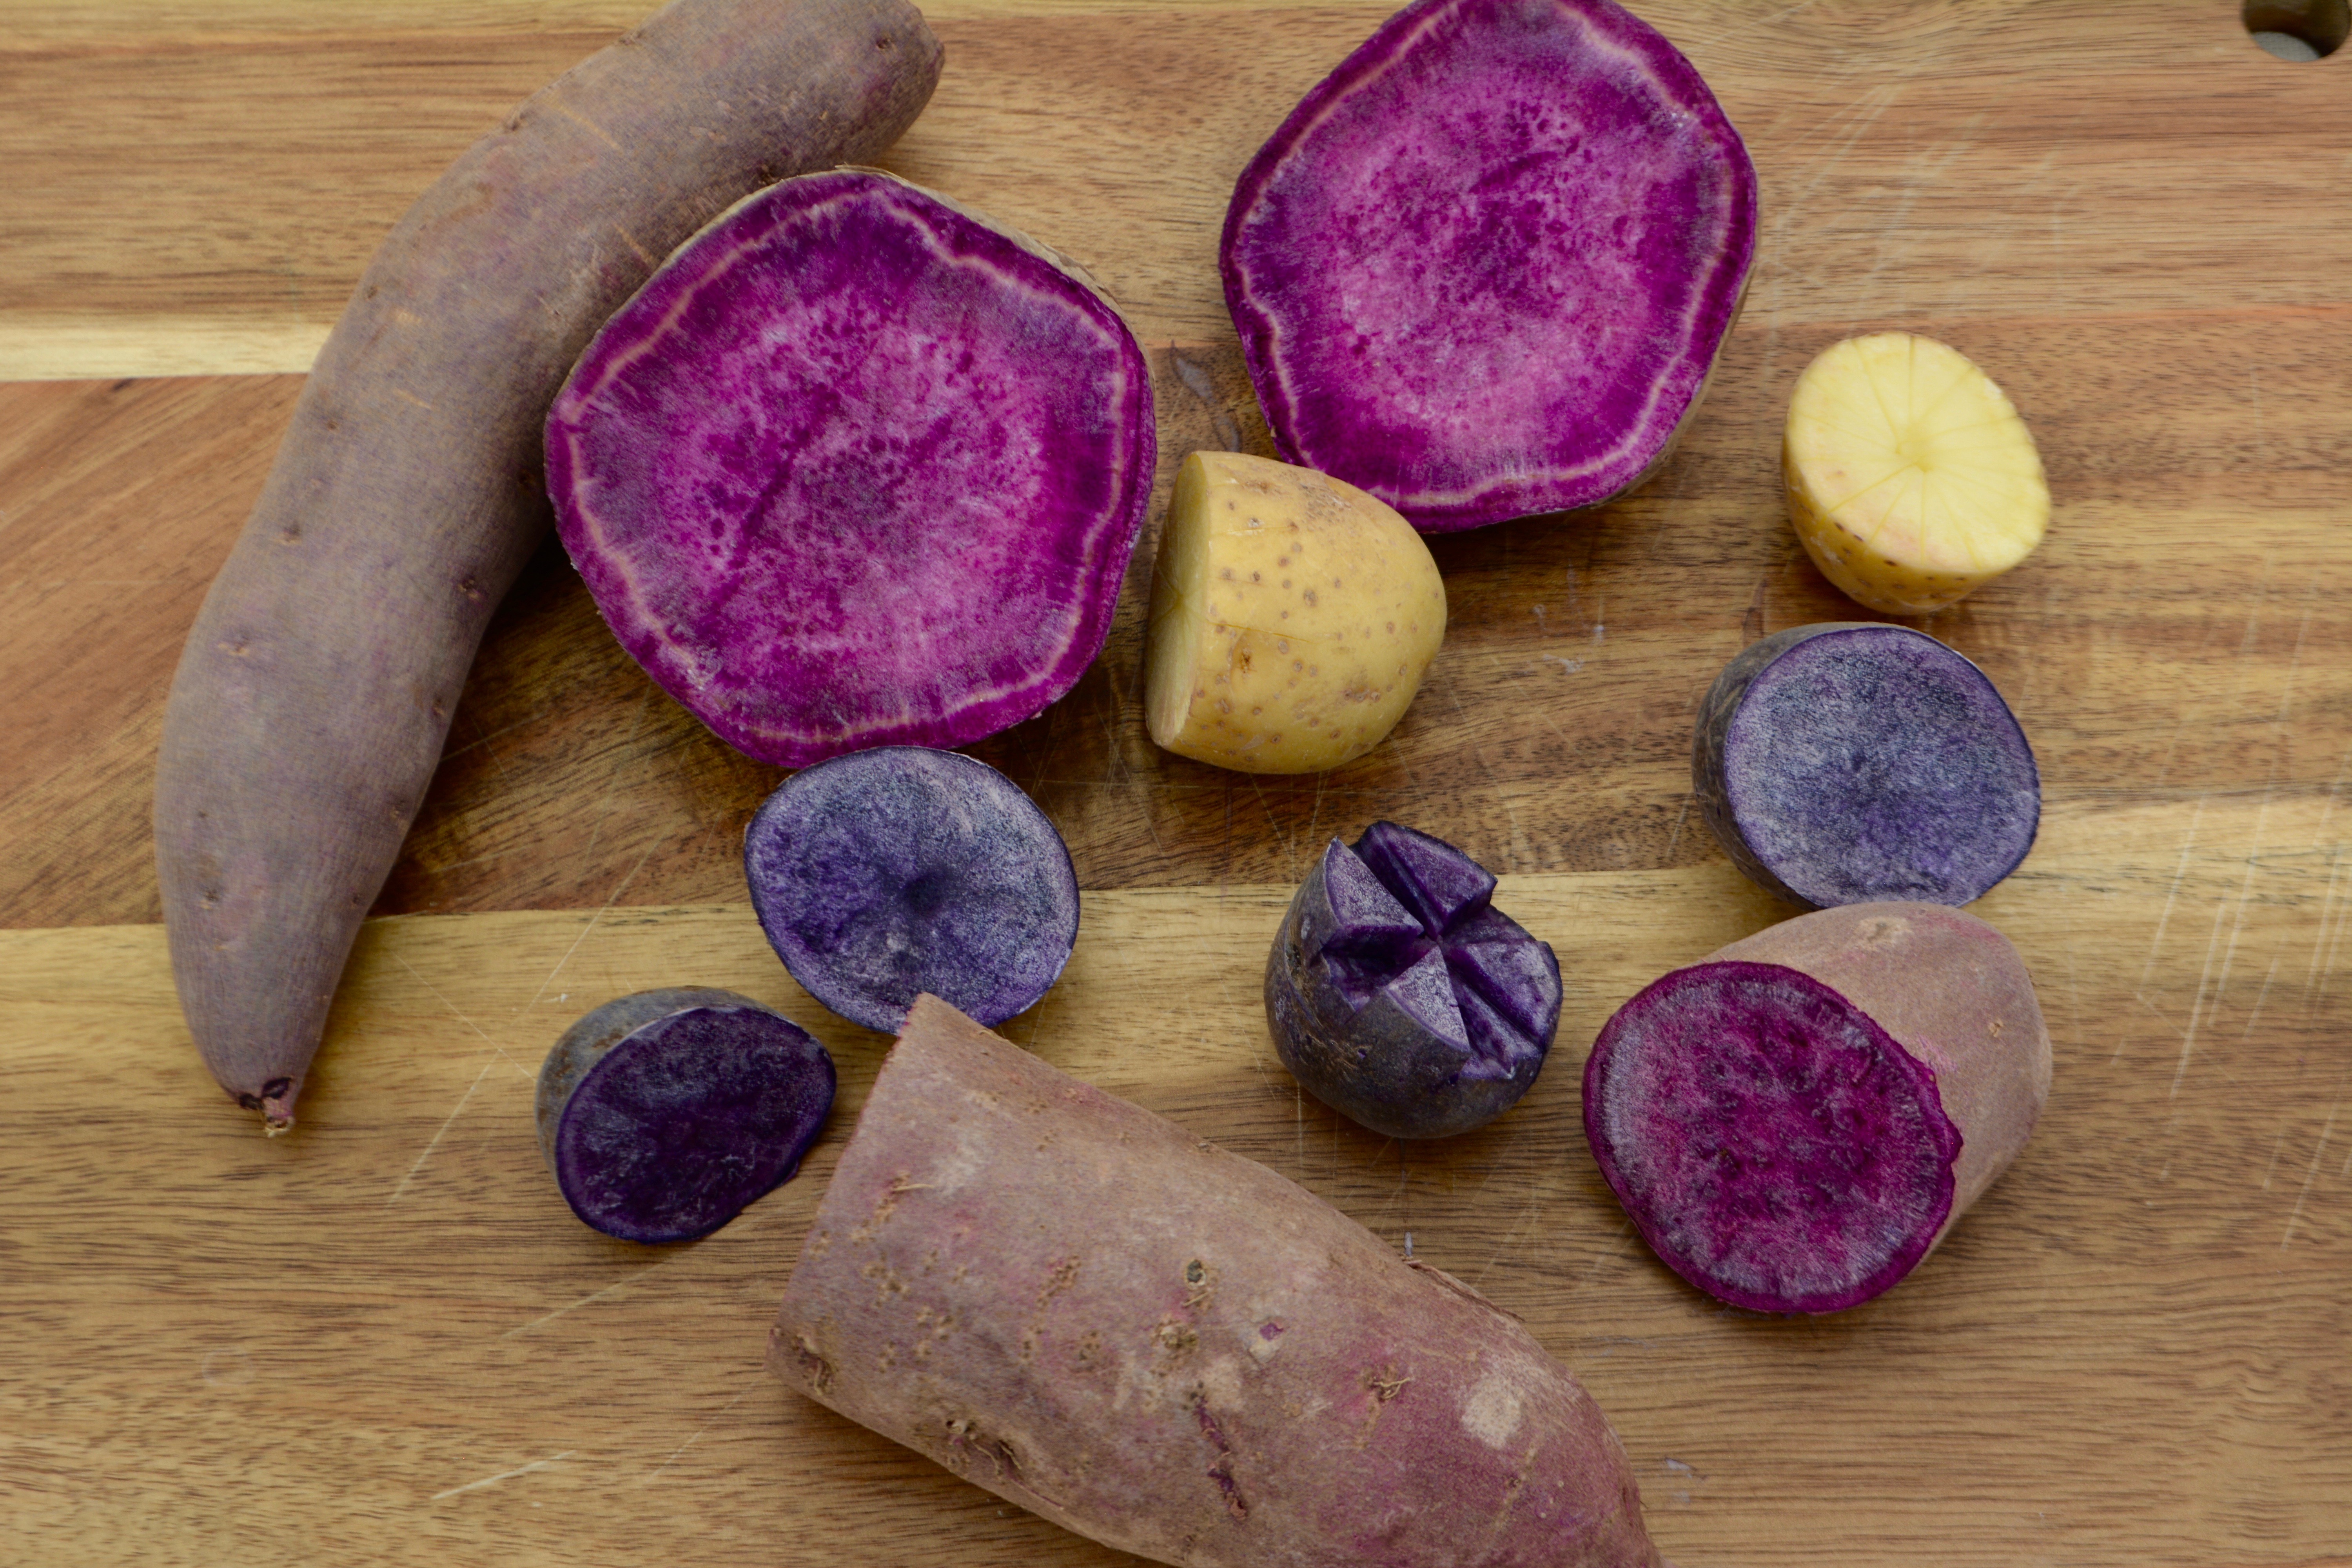
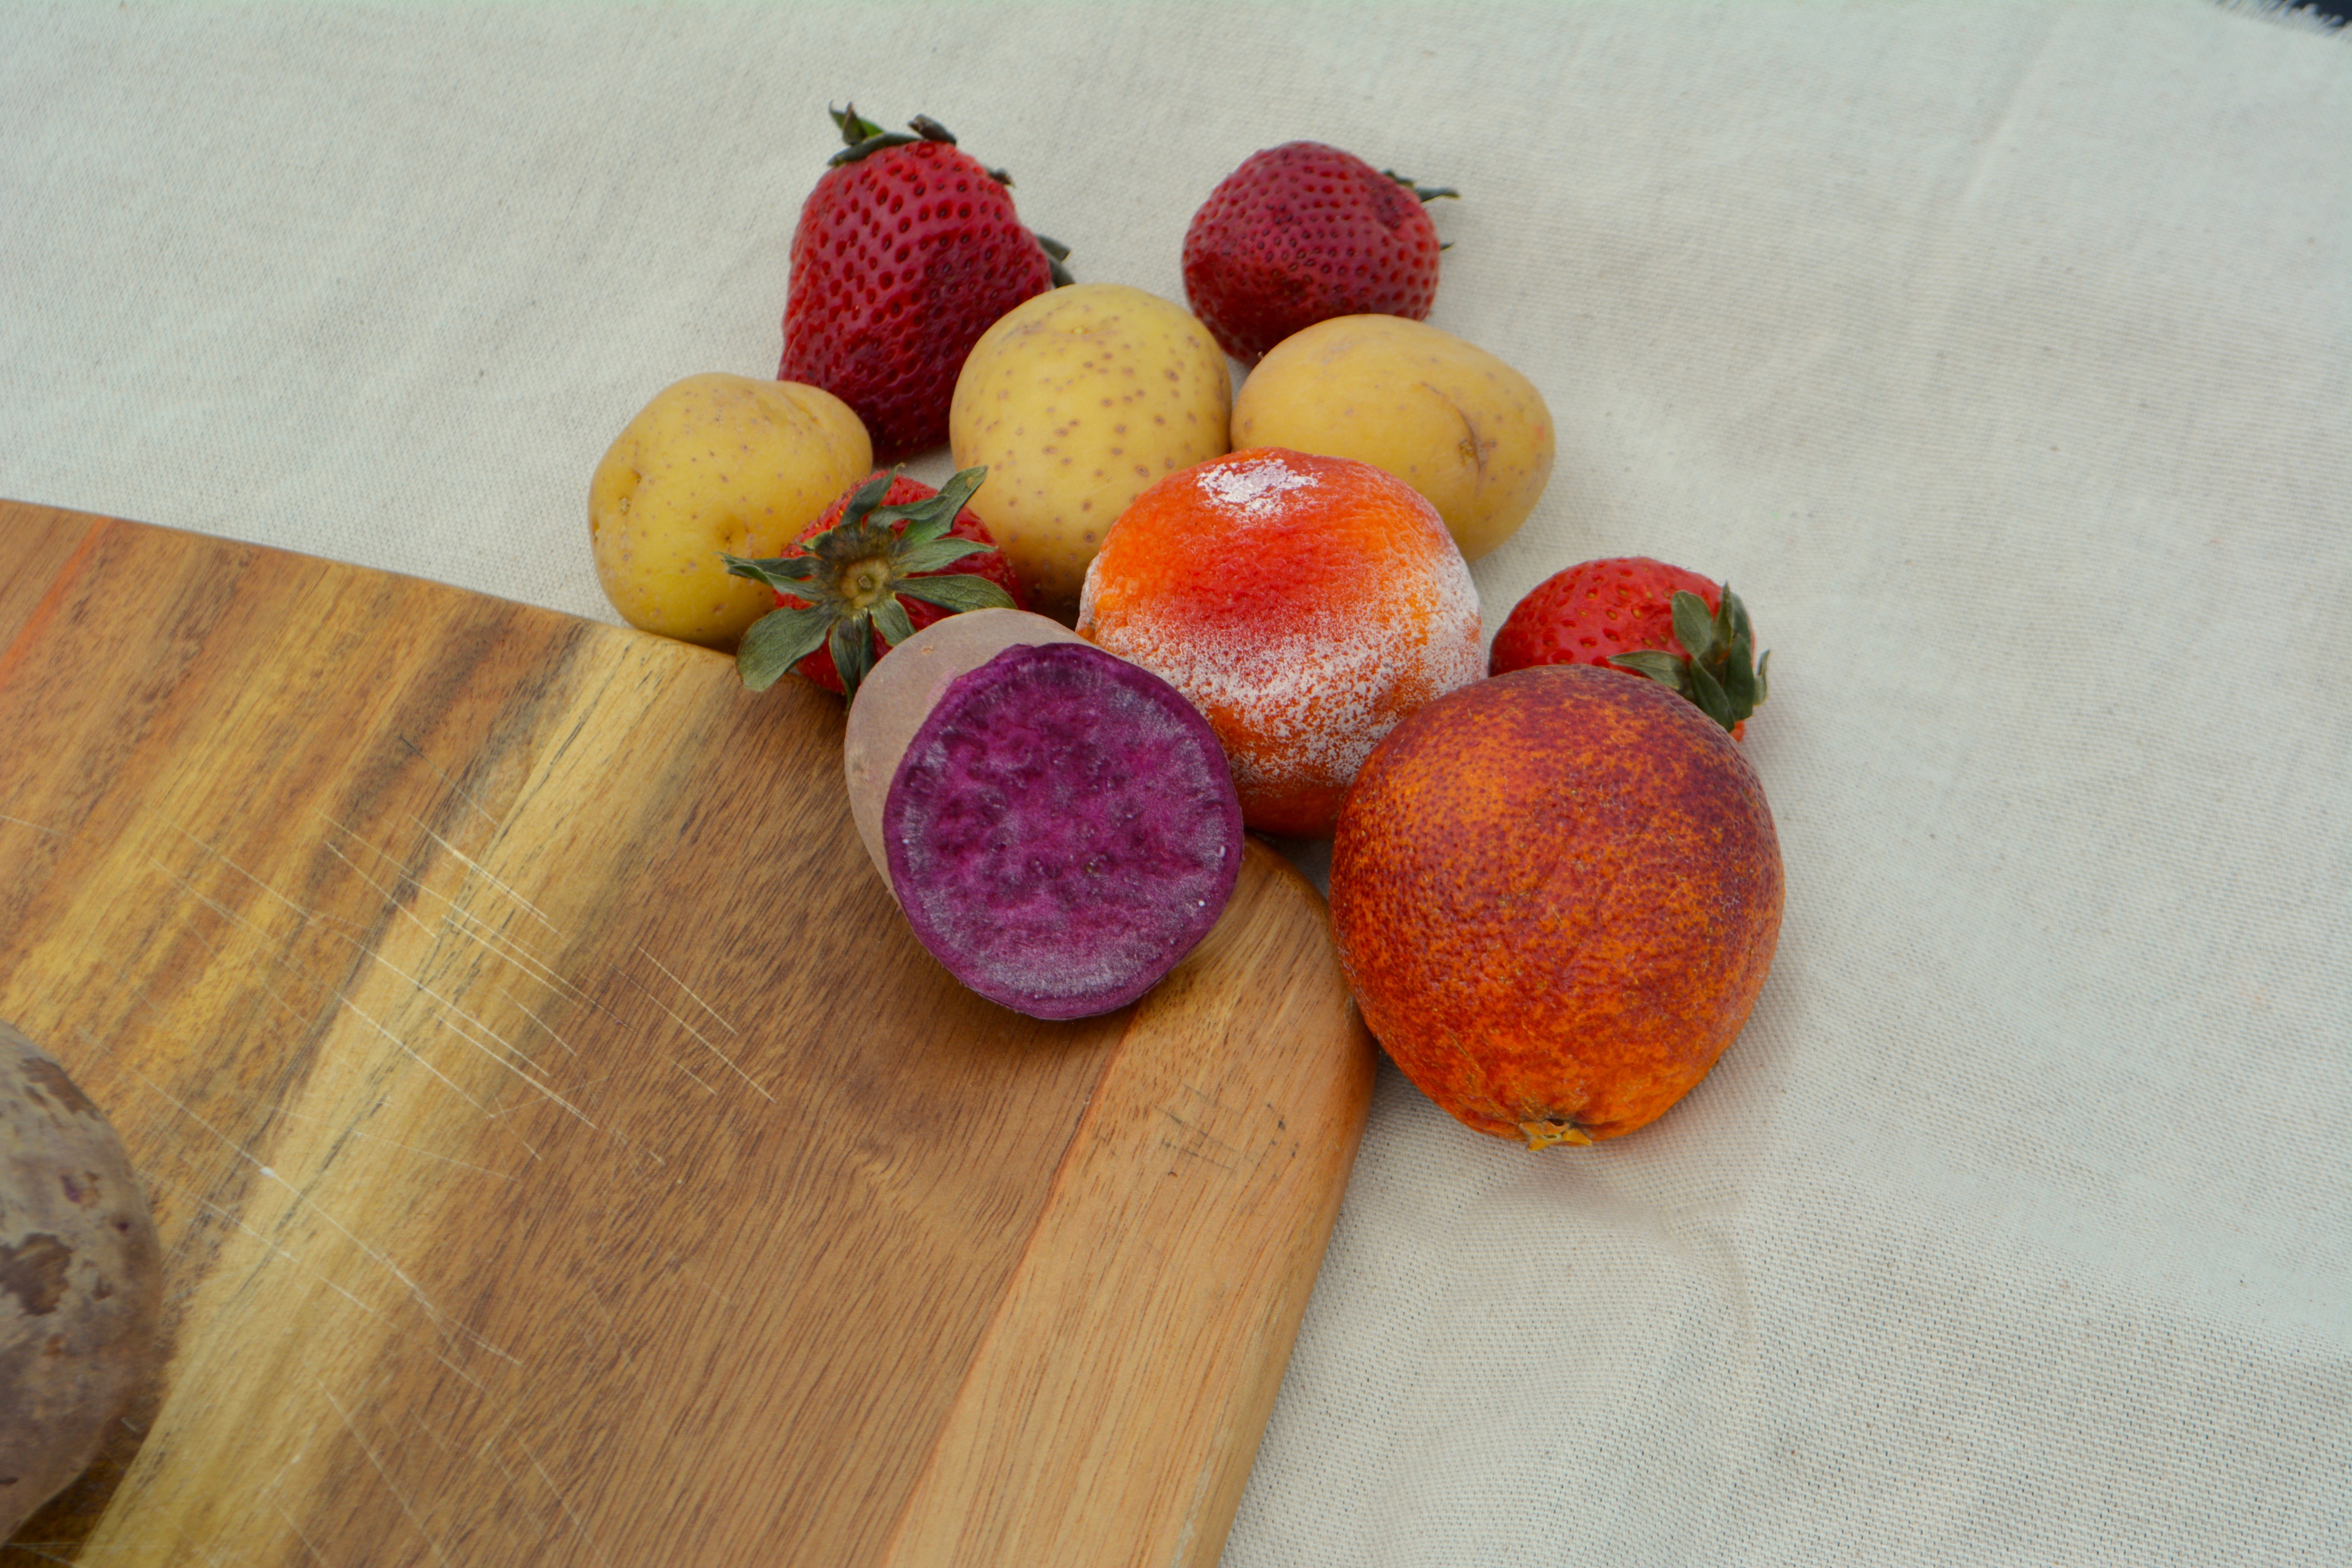
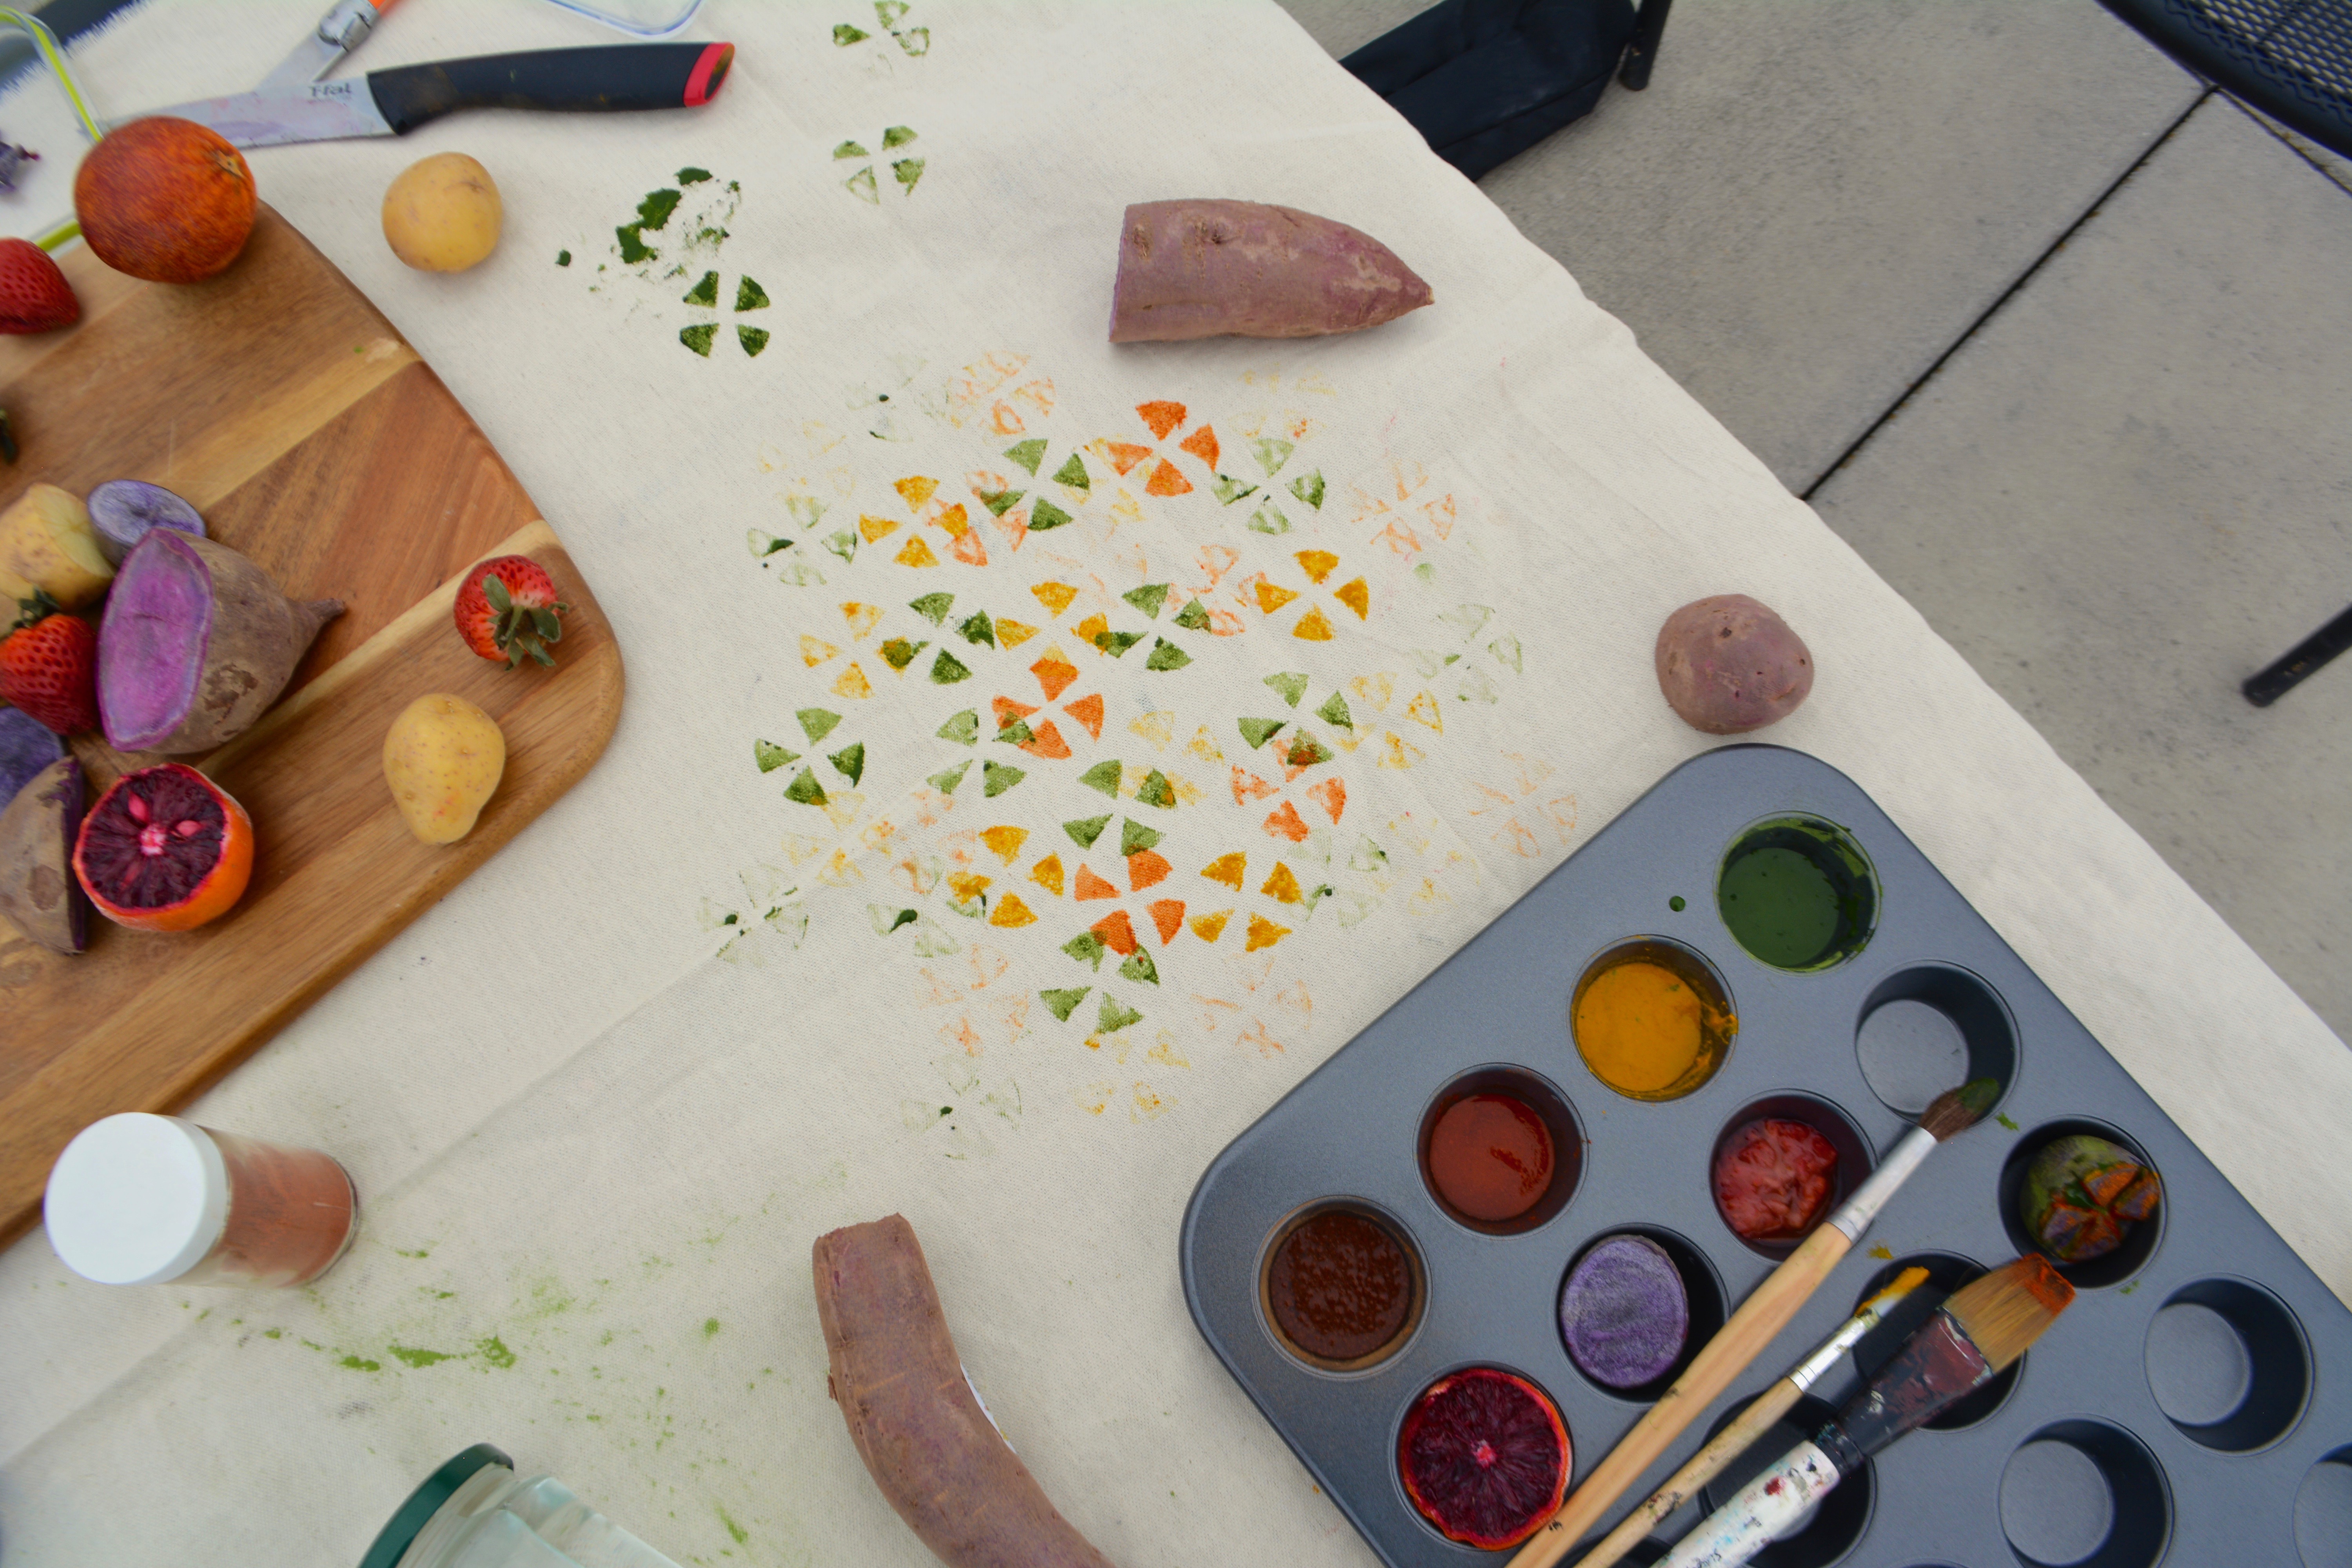
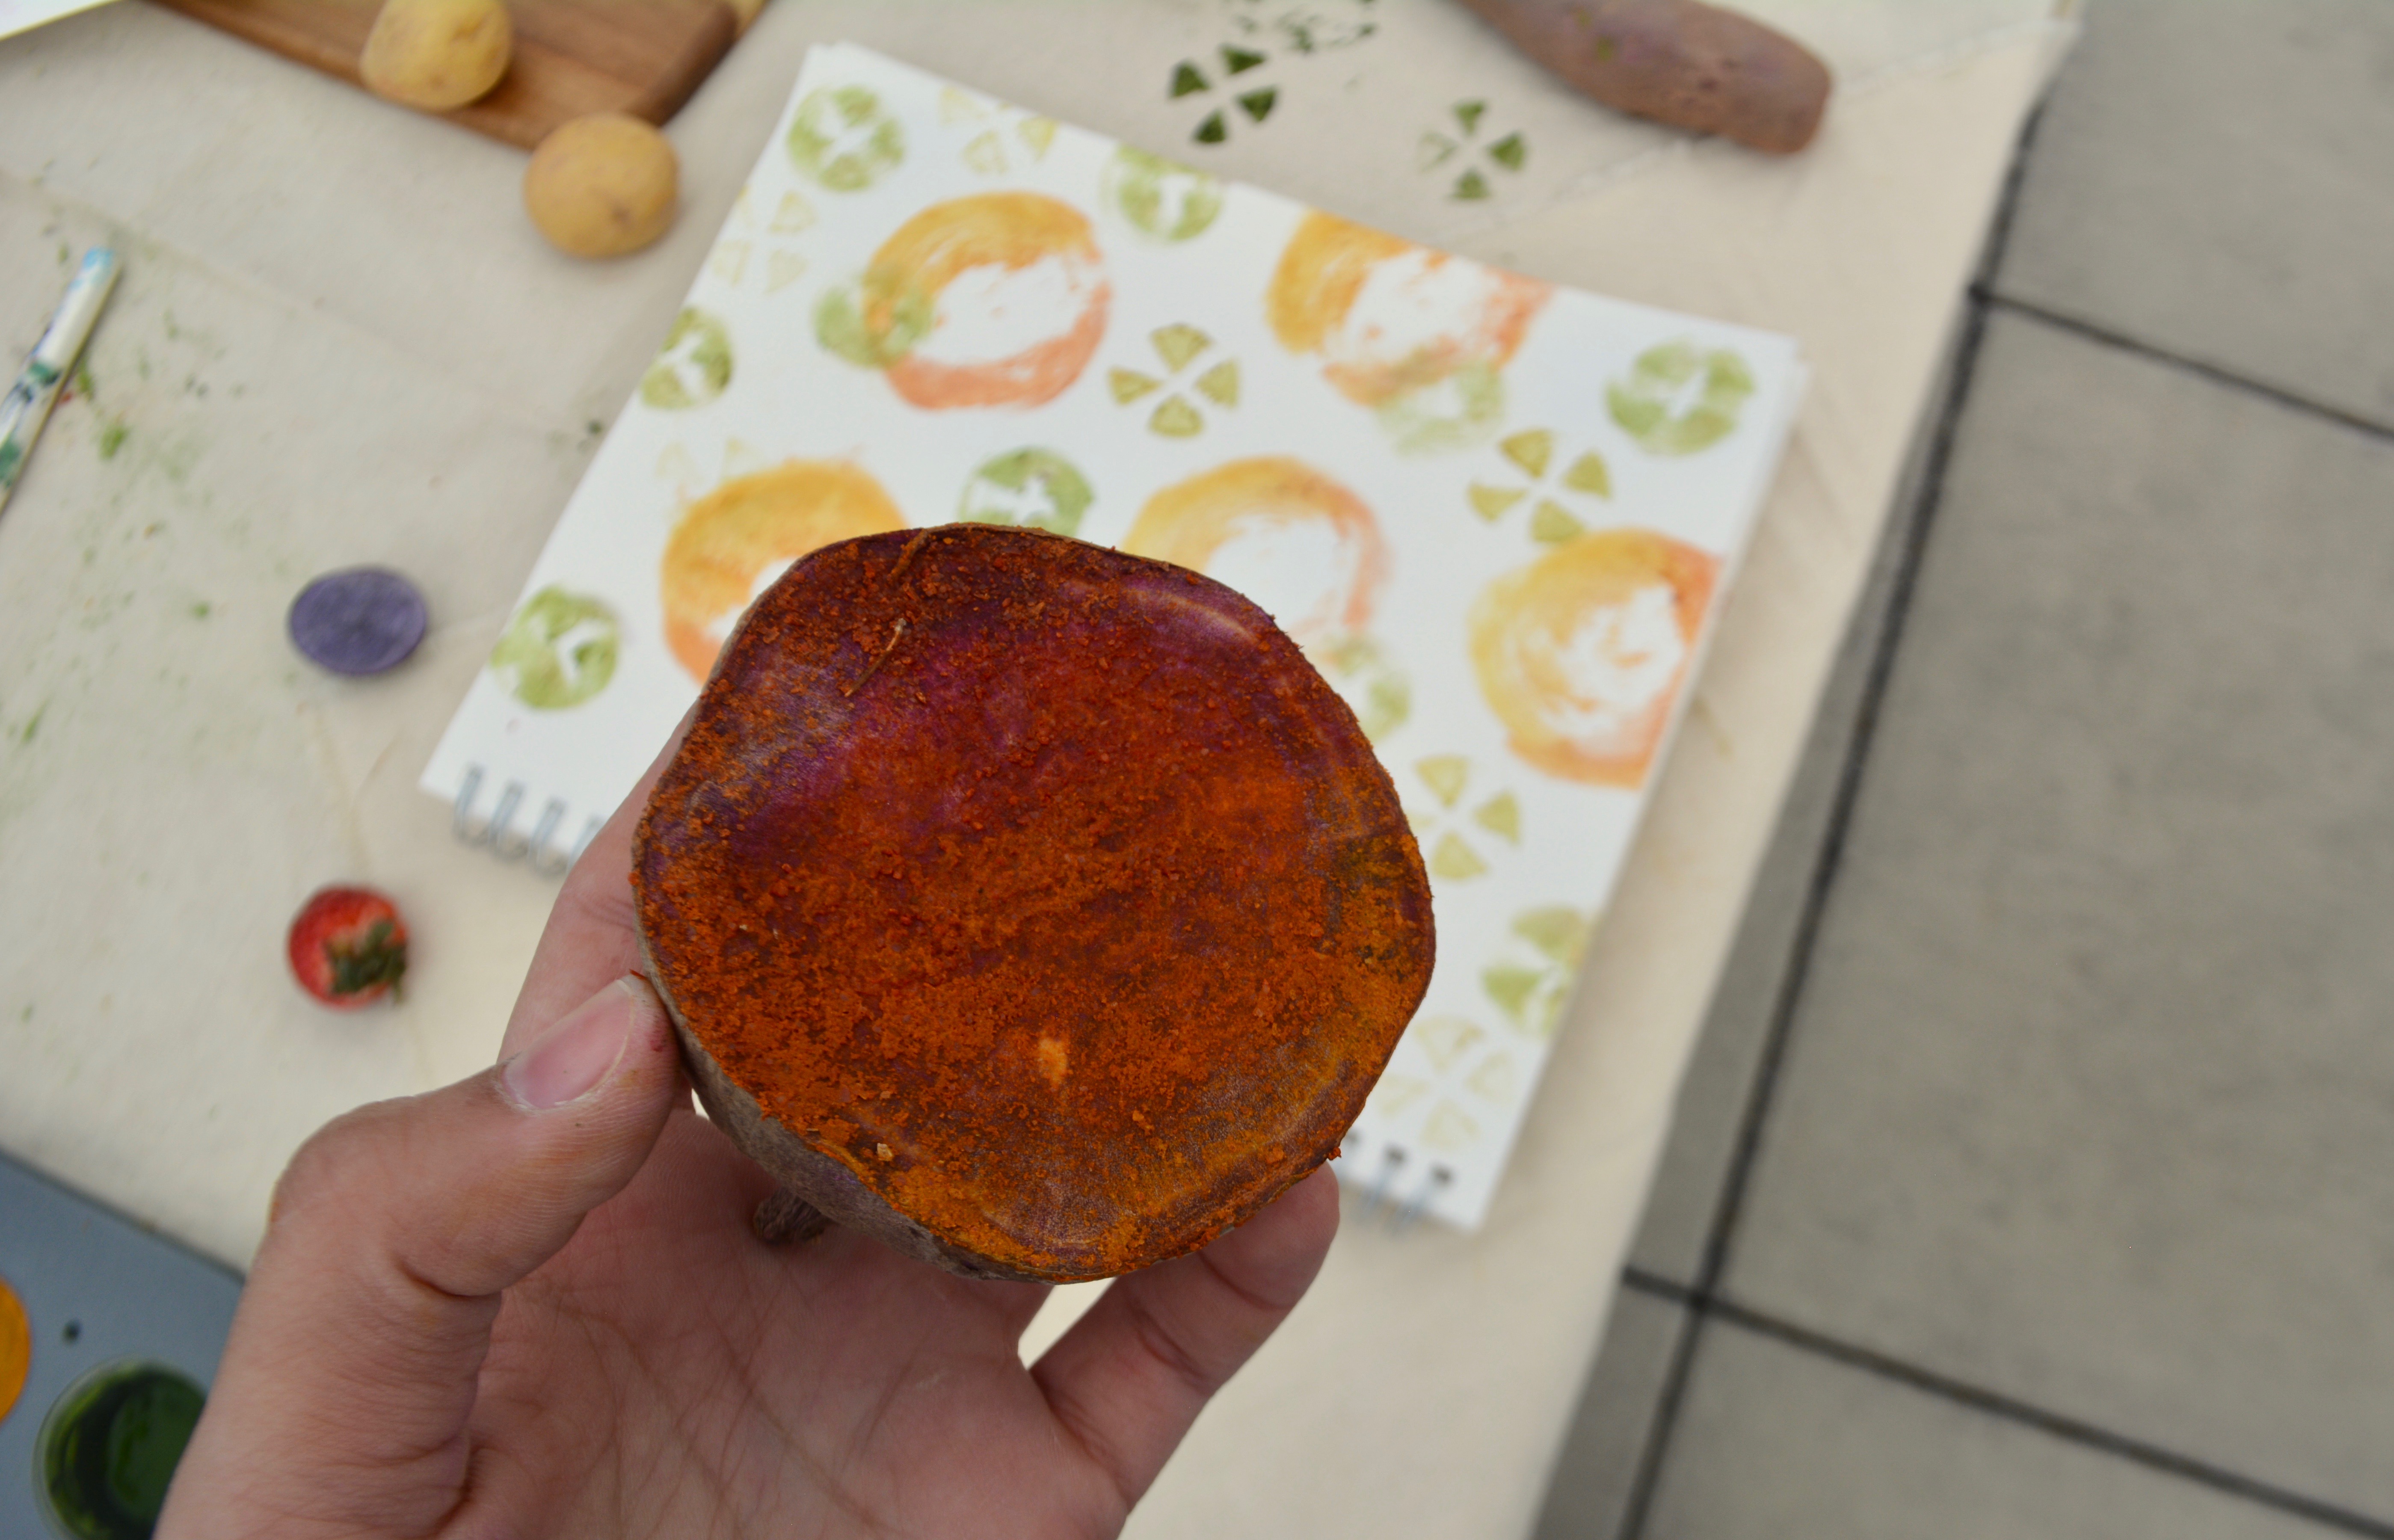
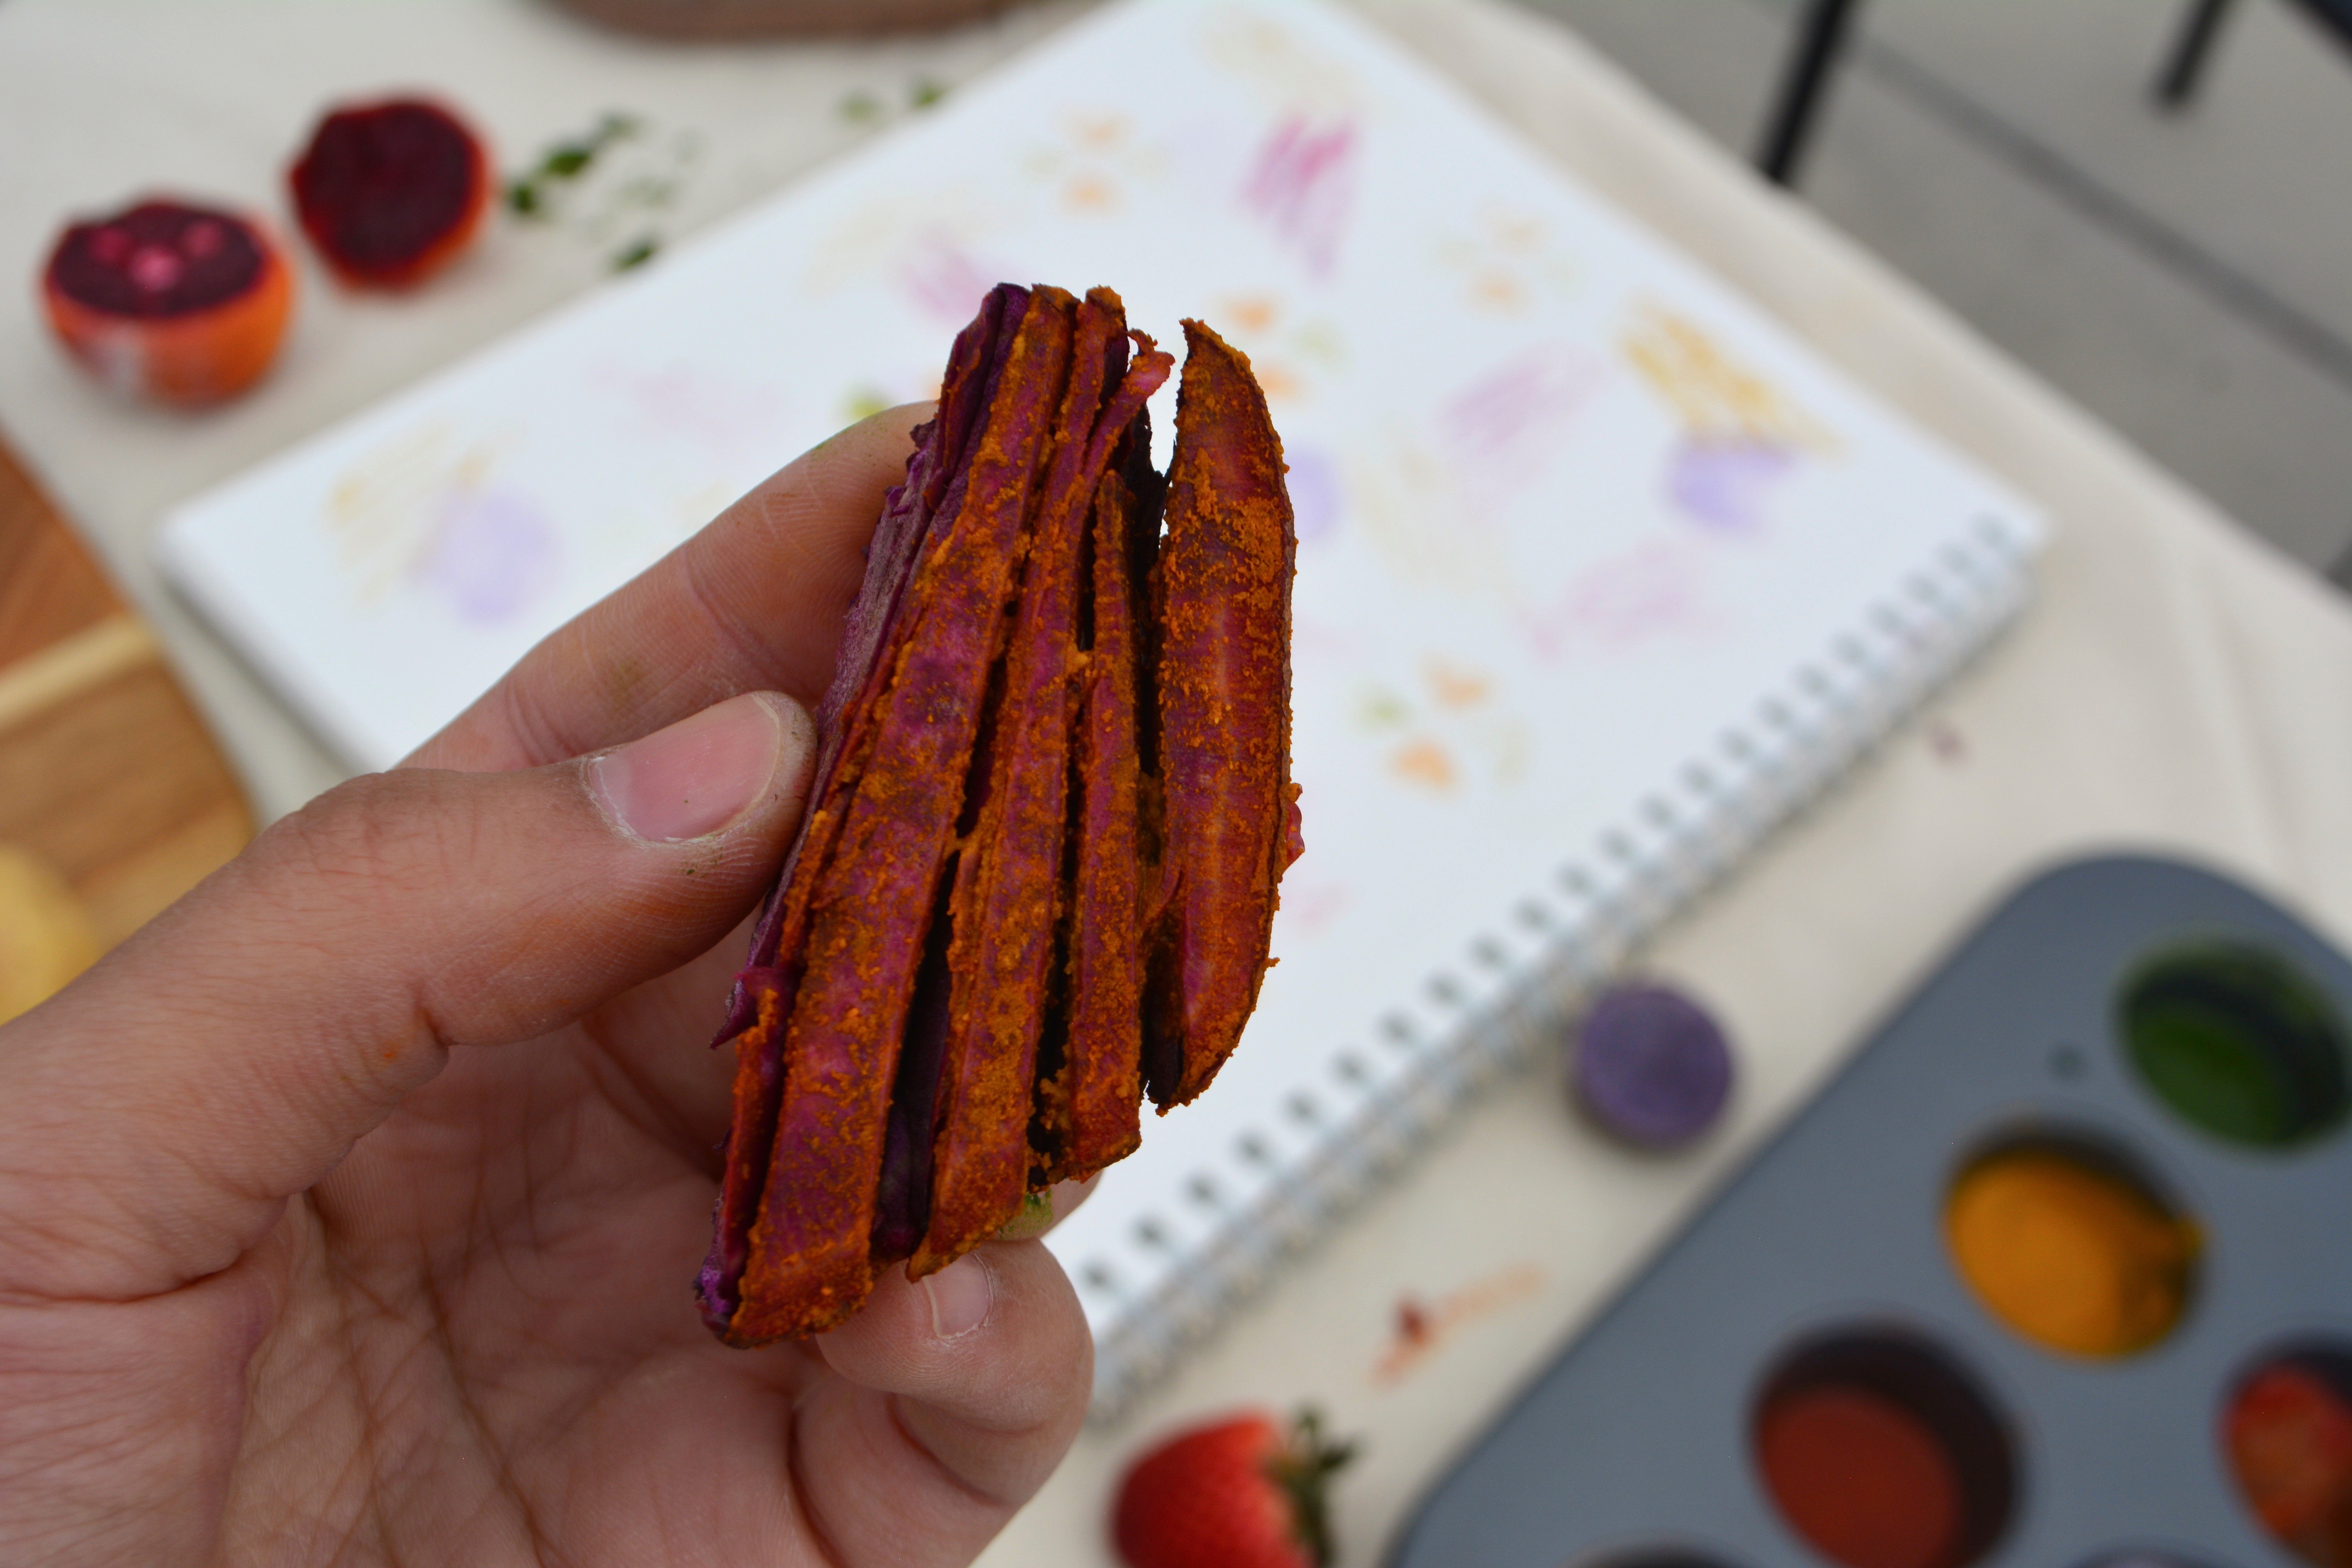
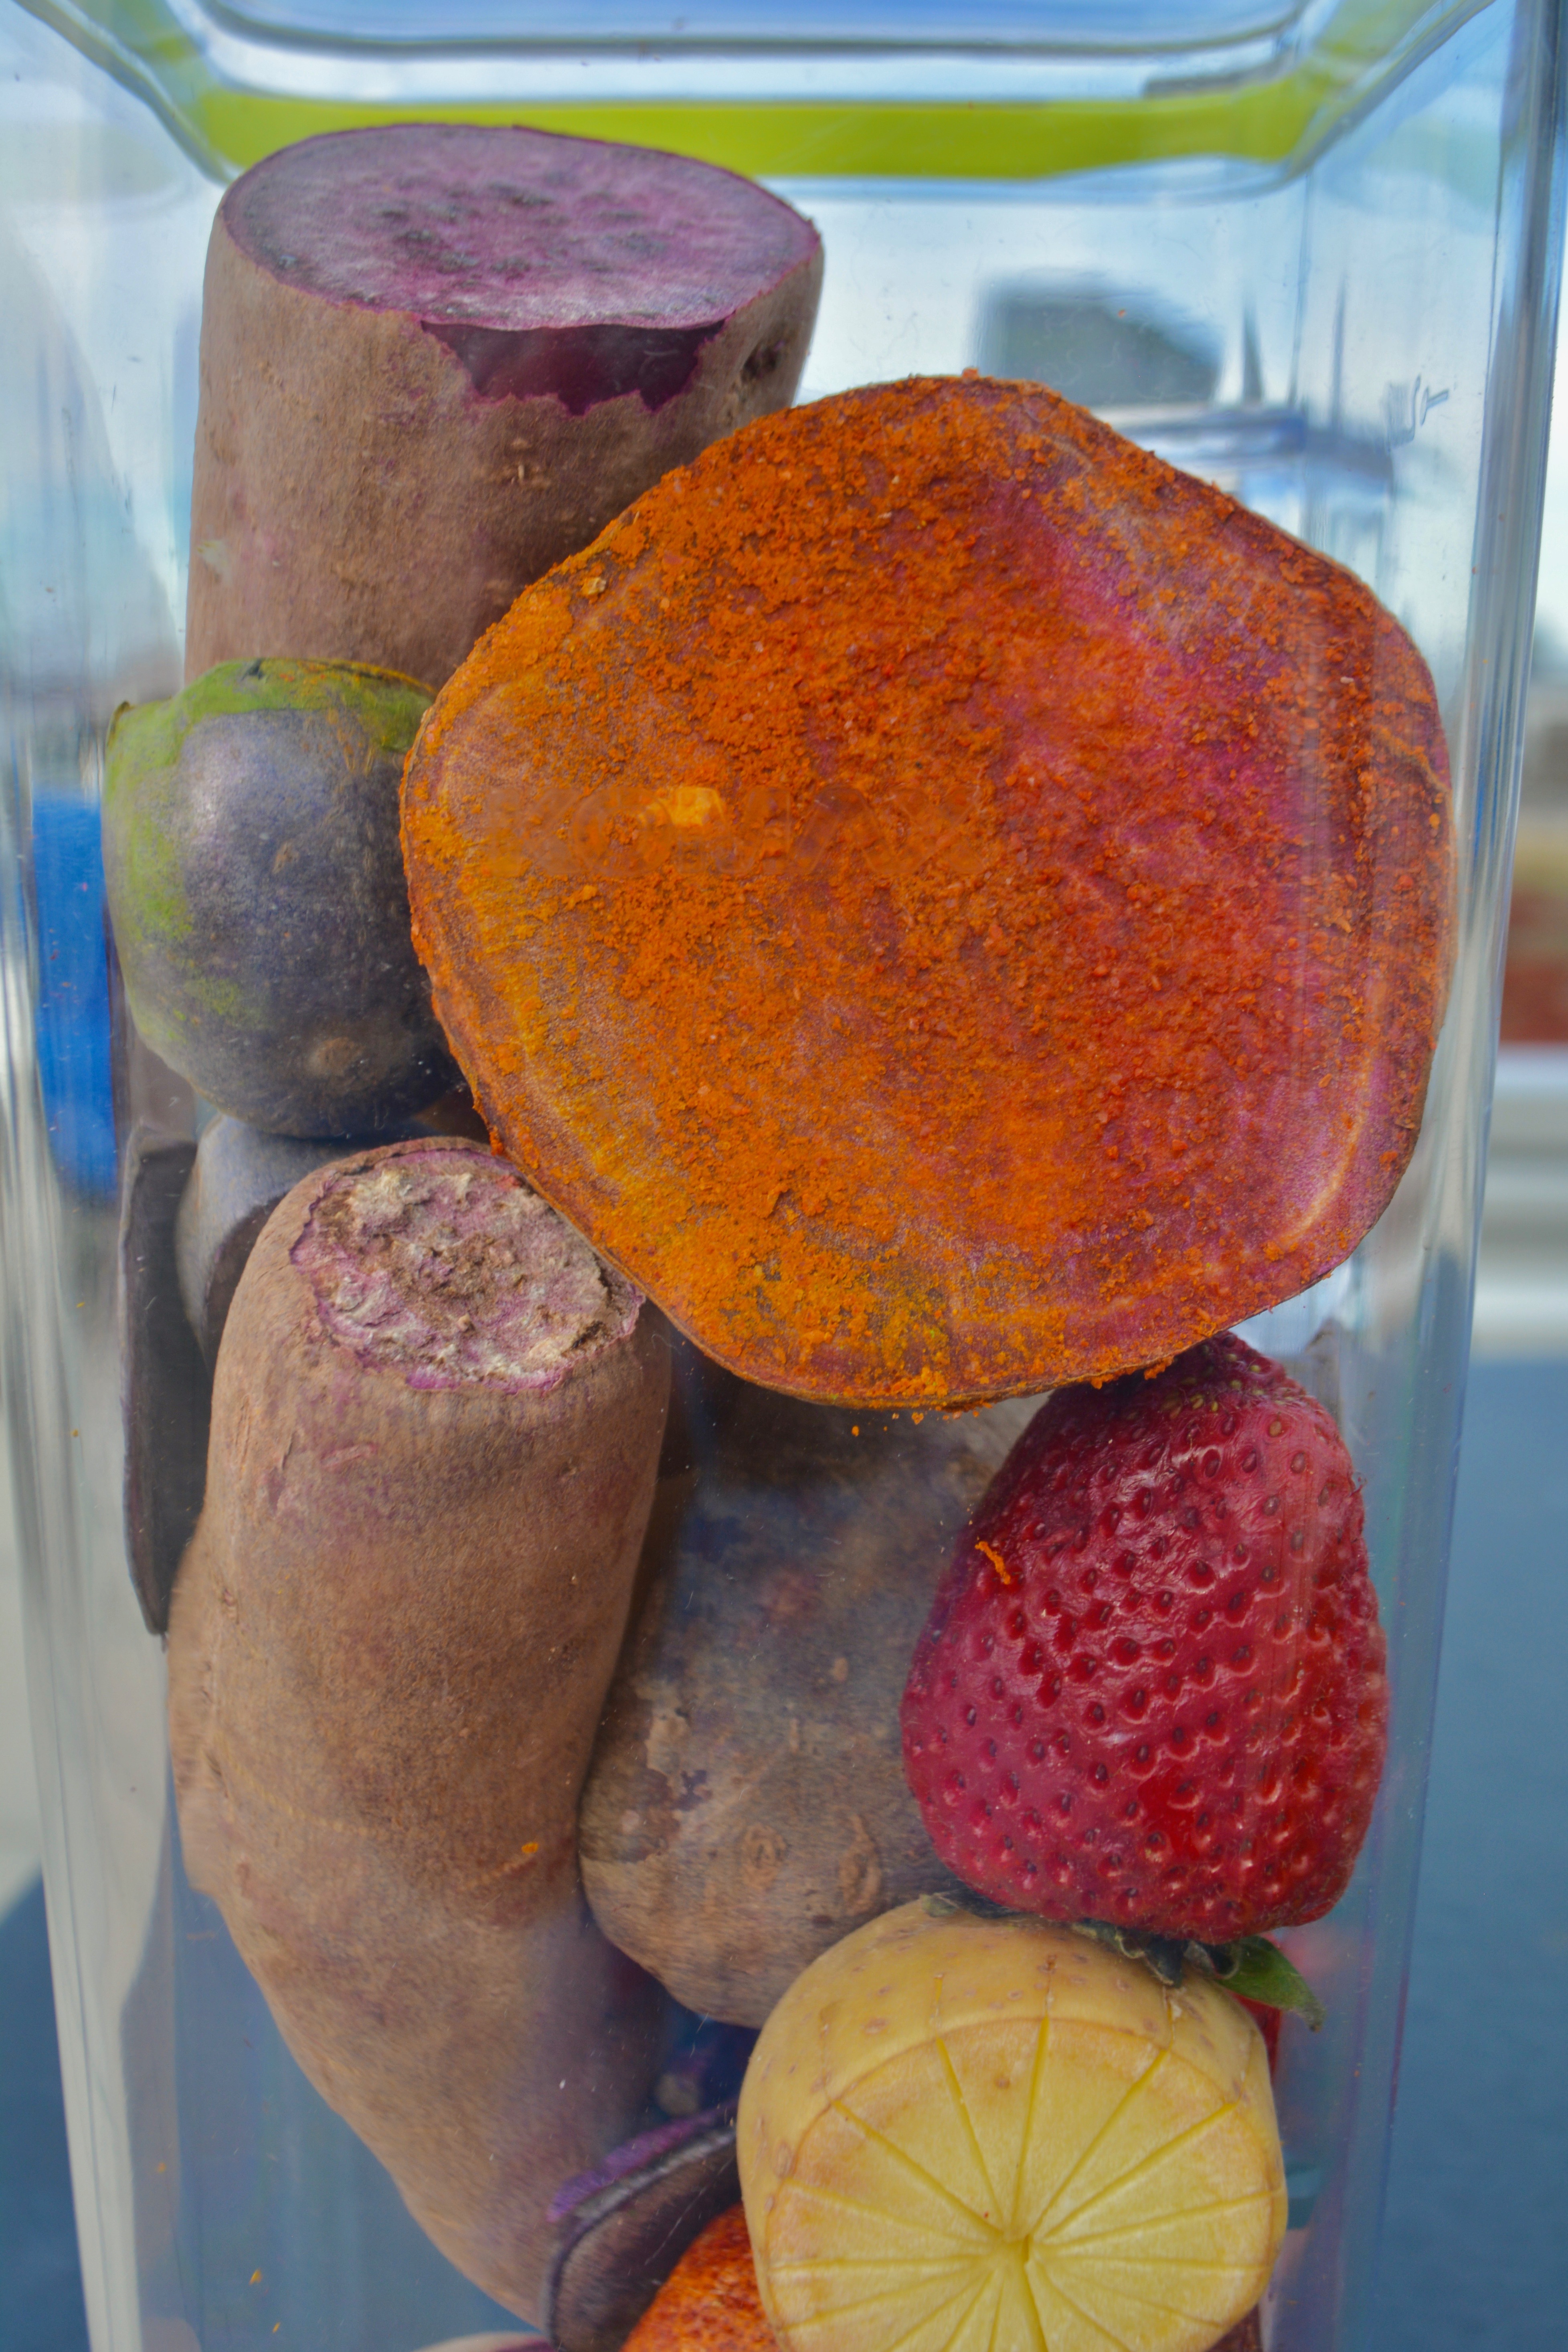
Potatoes(various sizes, white for less potato pigment, purple / sweet purple for more potato pigment; age/firmness of potato will affect output)
Carving tools (kitchen knife, smaller sharp knife, xacto blade)
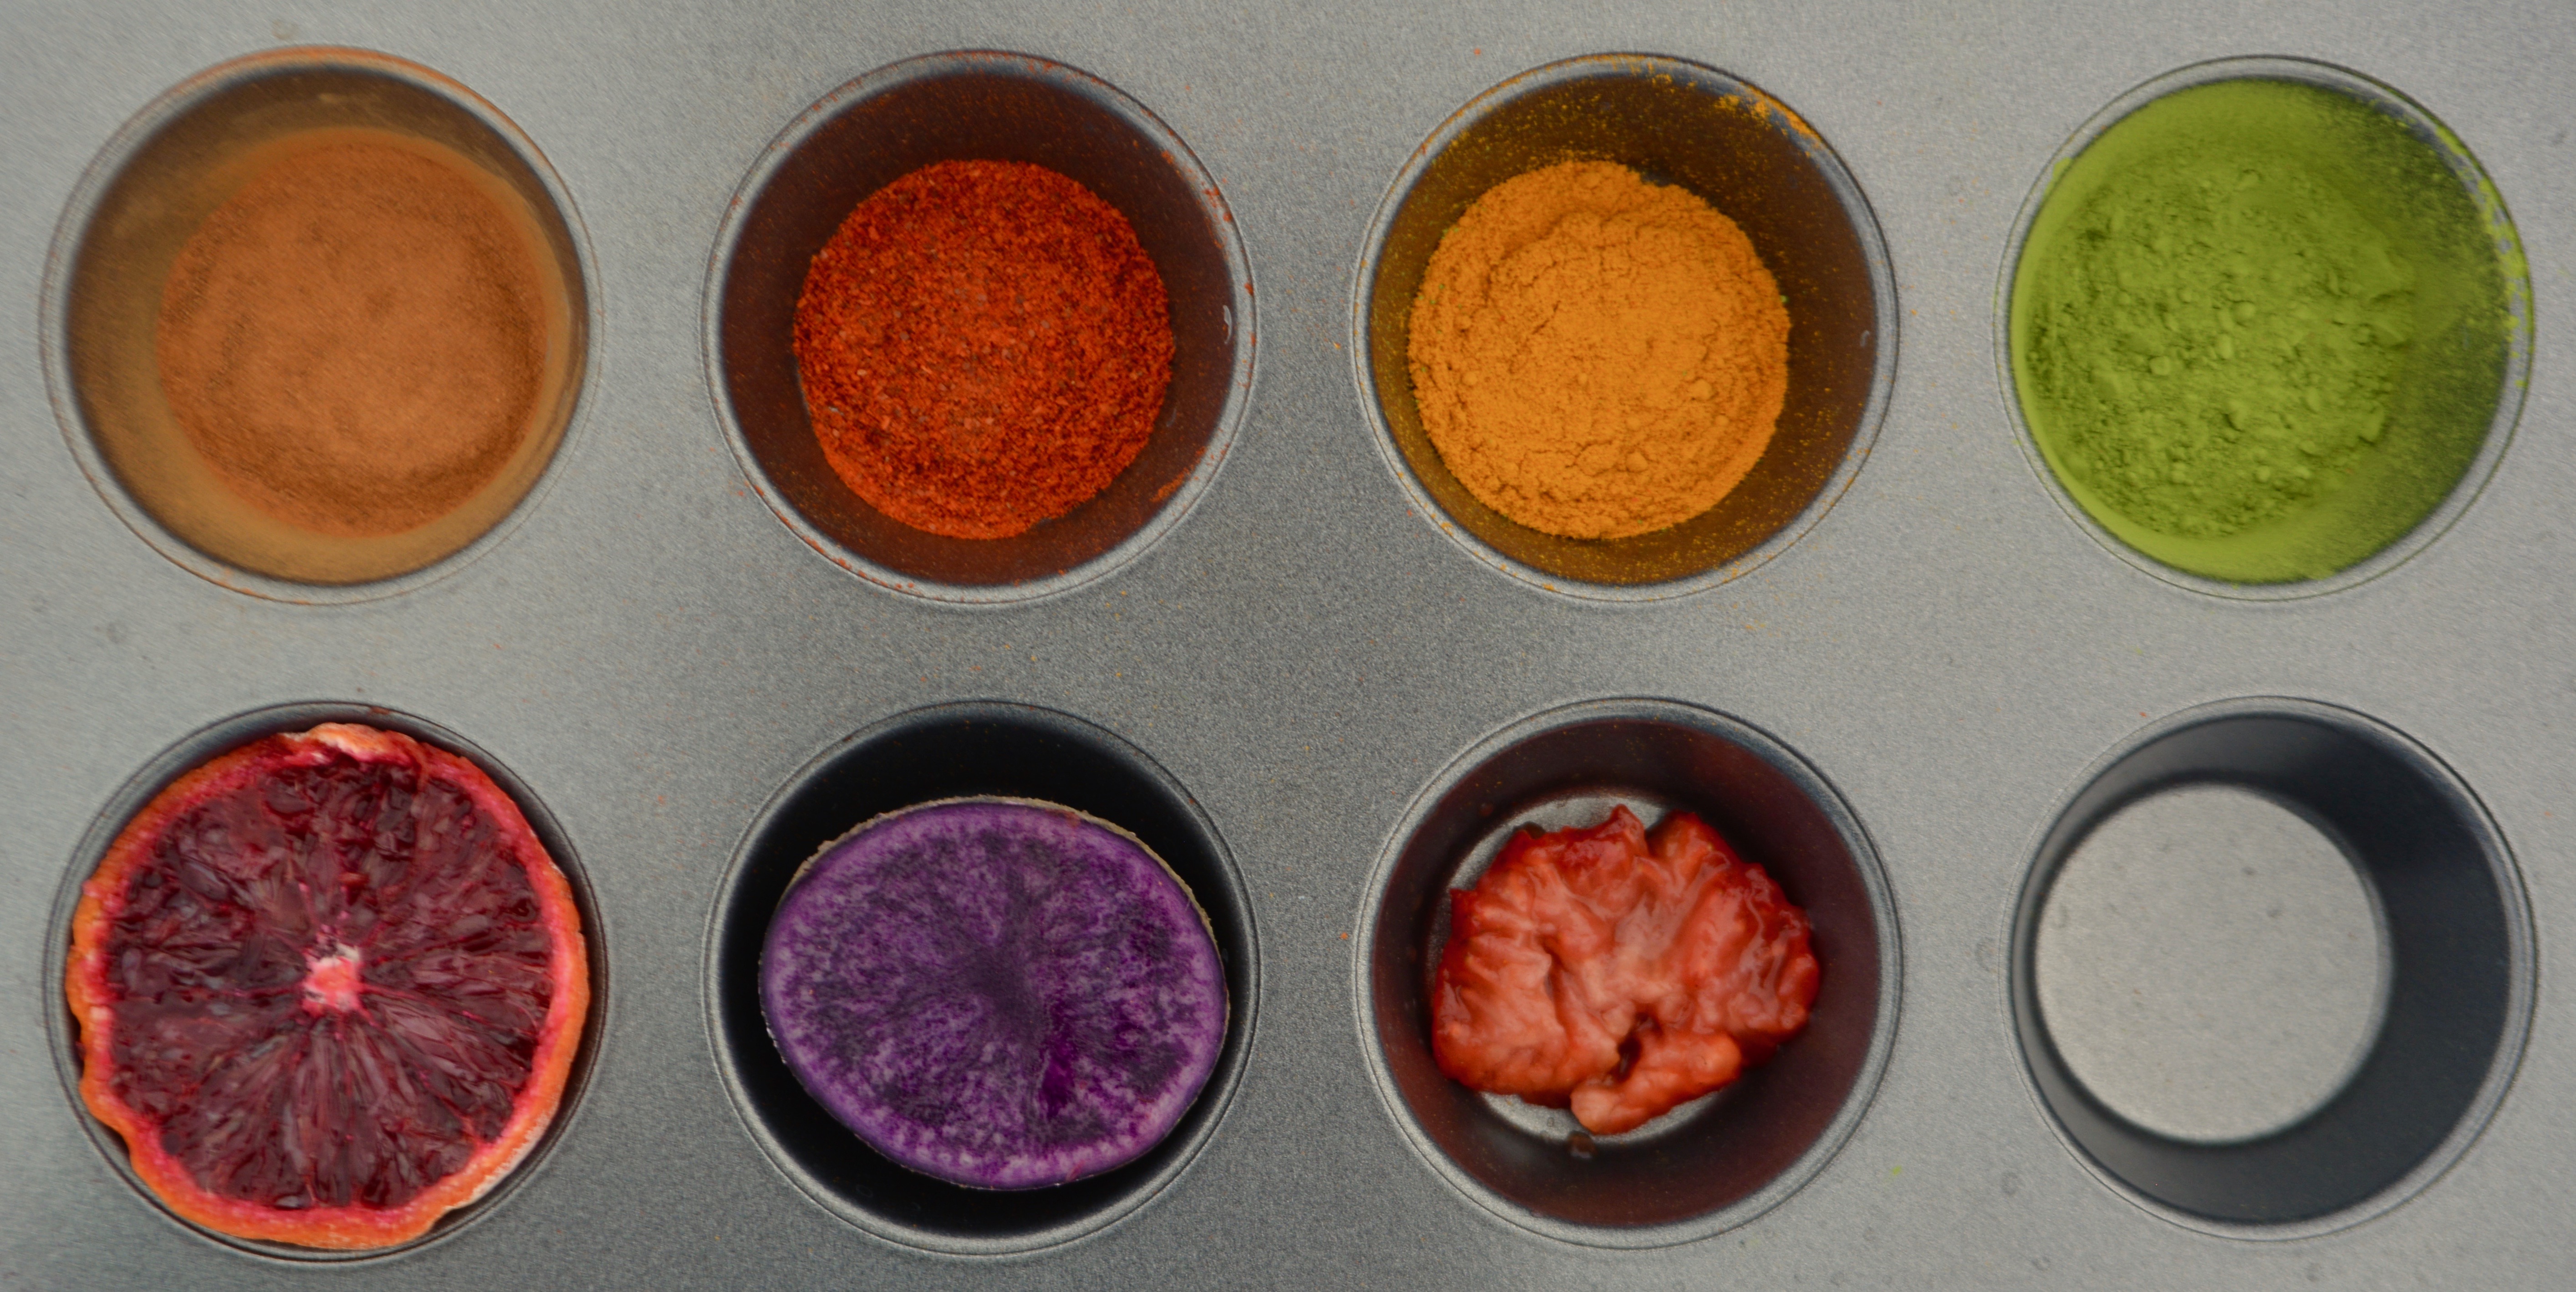
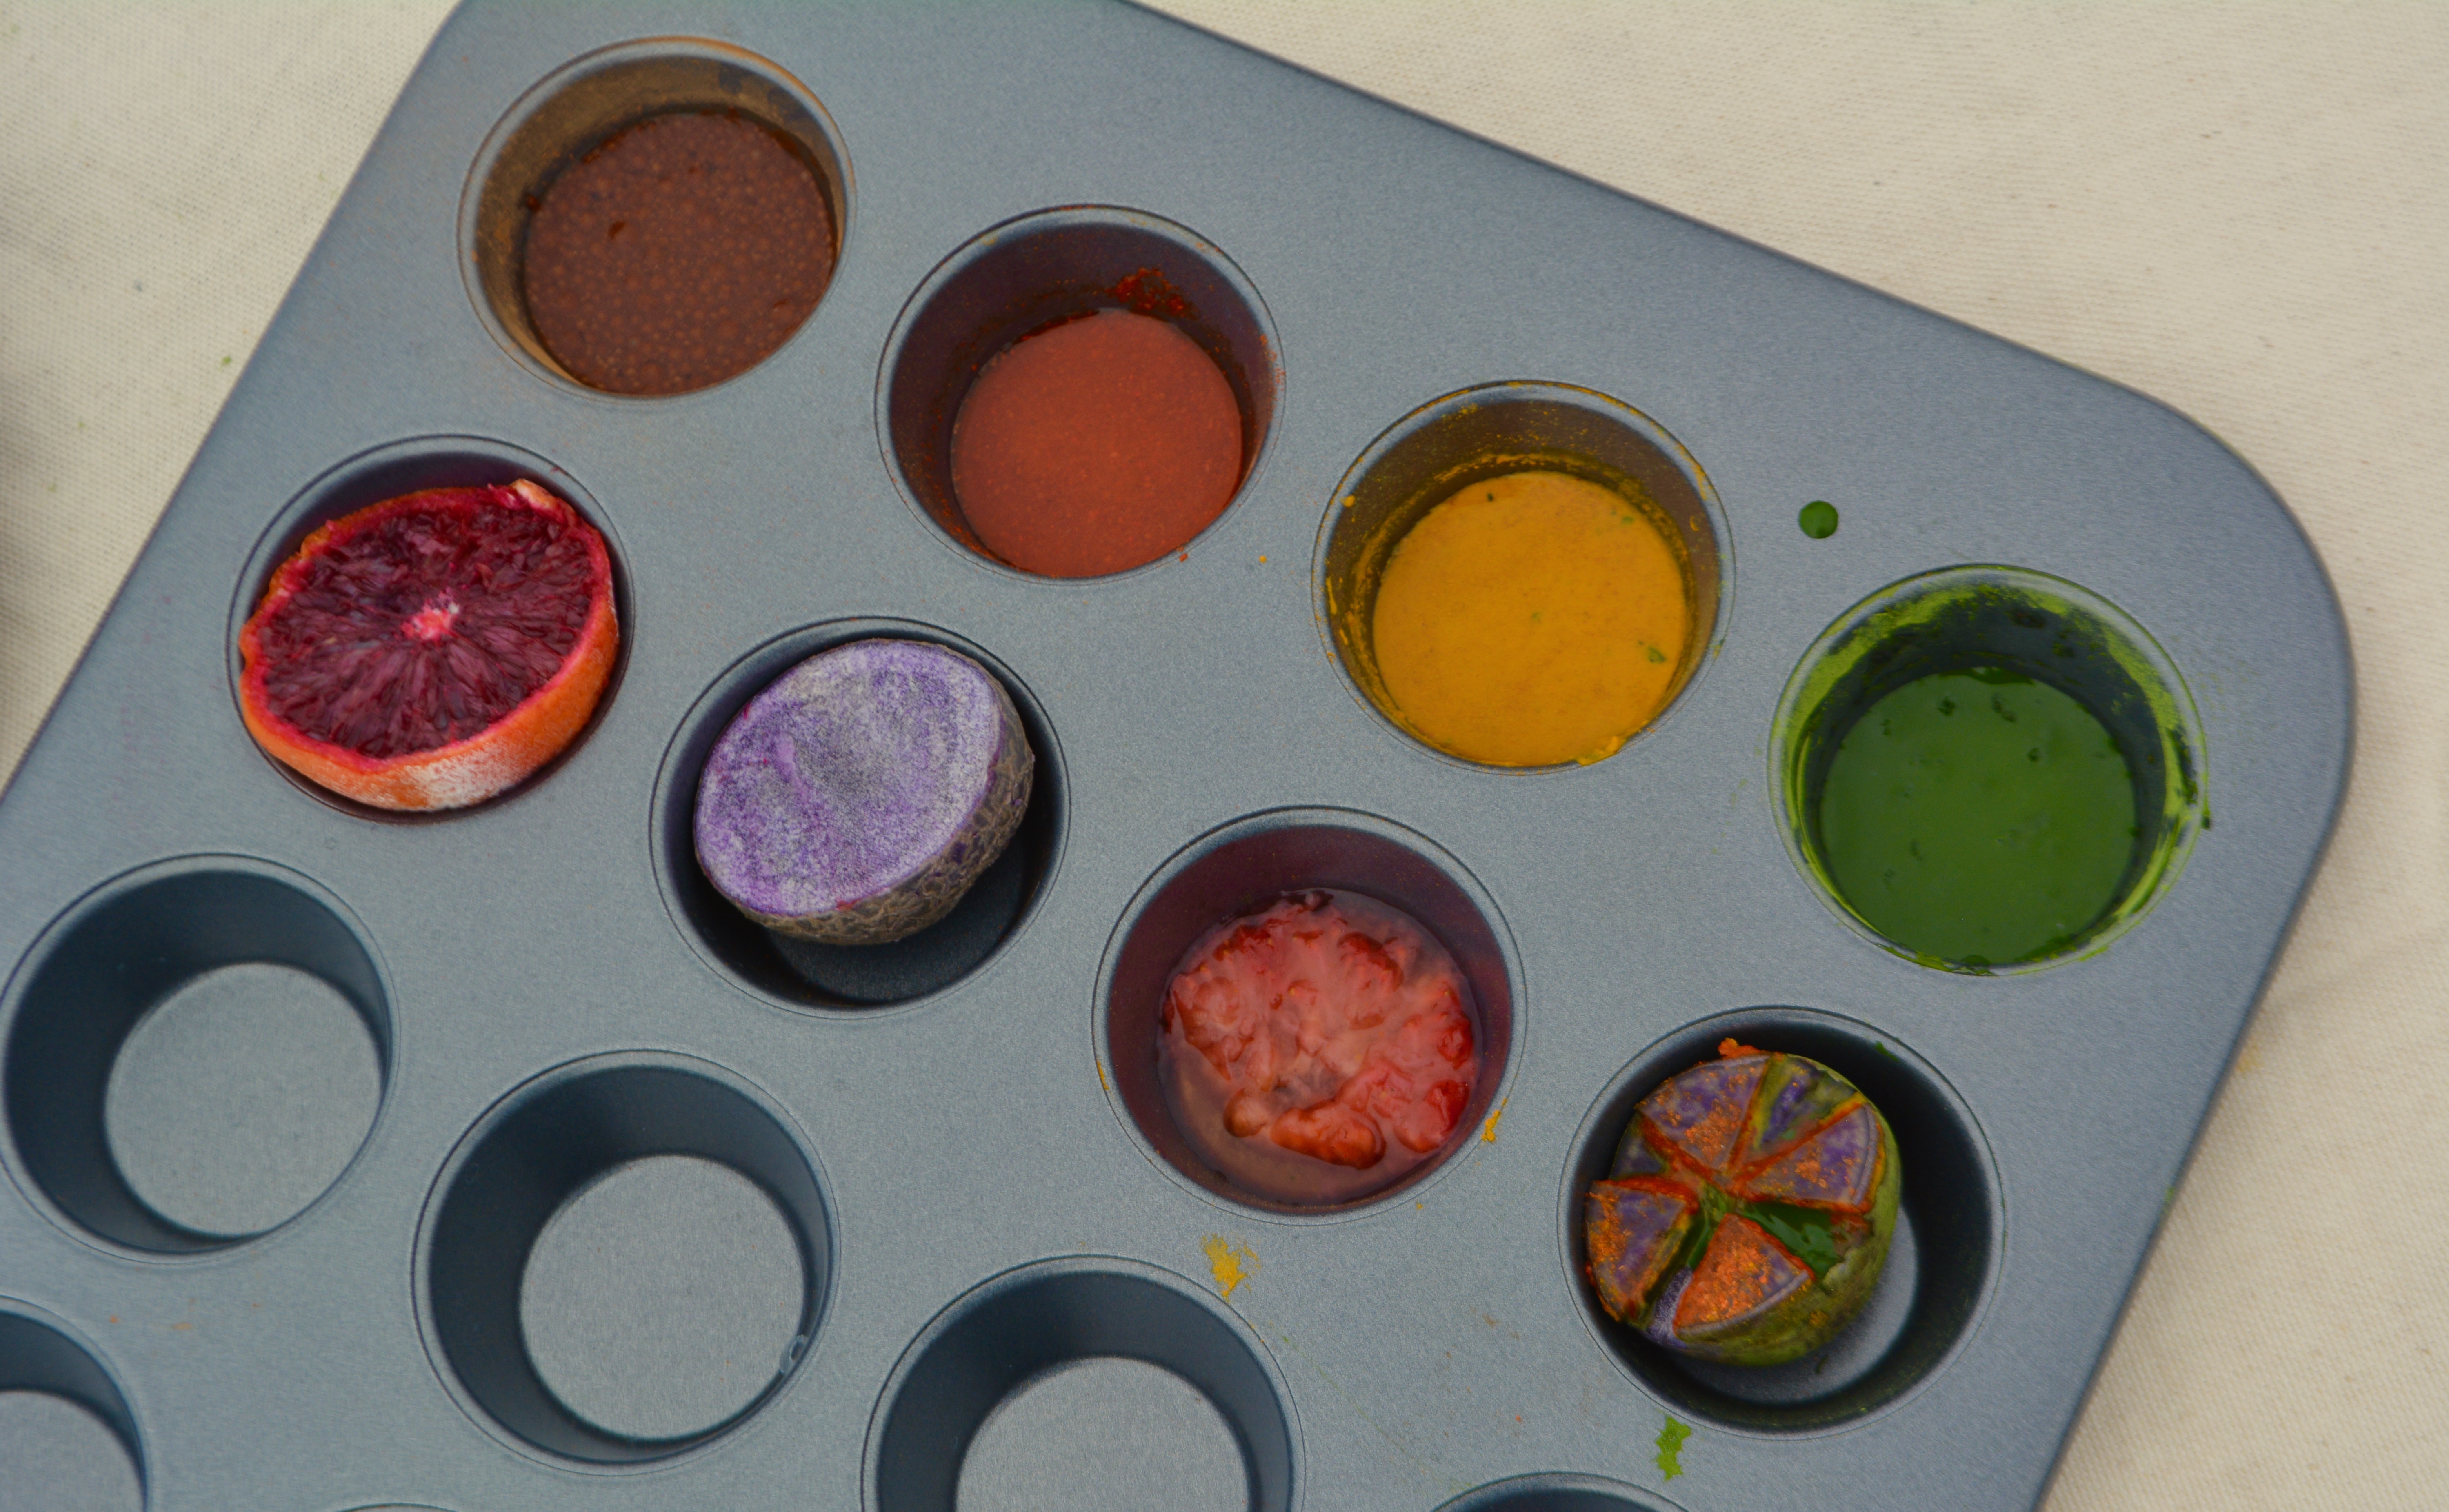
Pigments (red: chili powder/paprika; orange: blood oranges; yellow: turmeric; green: matcha; purple: potato; brown: cinnamon/coffee; pink: strawberries) OR whatever paint / ink you have laying around or accessible to you!
Cutting surface
Cups/bowls (to hold/mix pigments with water)
Pigment applicator(s) (paintbrushes, sponges, brayer, or fingers)
Towel / cloth (optional, but can lay under print surfaces for more even application)
Cloth/rag/towel (to clean potato stamps when needed)
Application surface (porous/absorbent paper or fabric, pale color)

1 // Natural paints—
Mix any powder pigments with water to create your own paints.
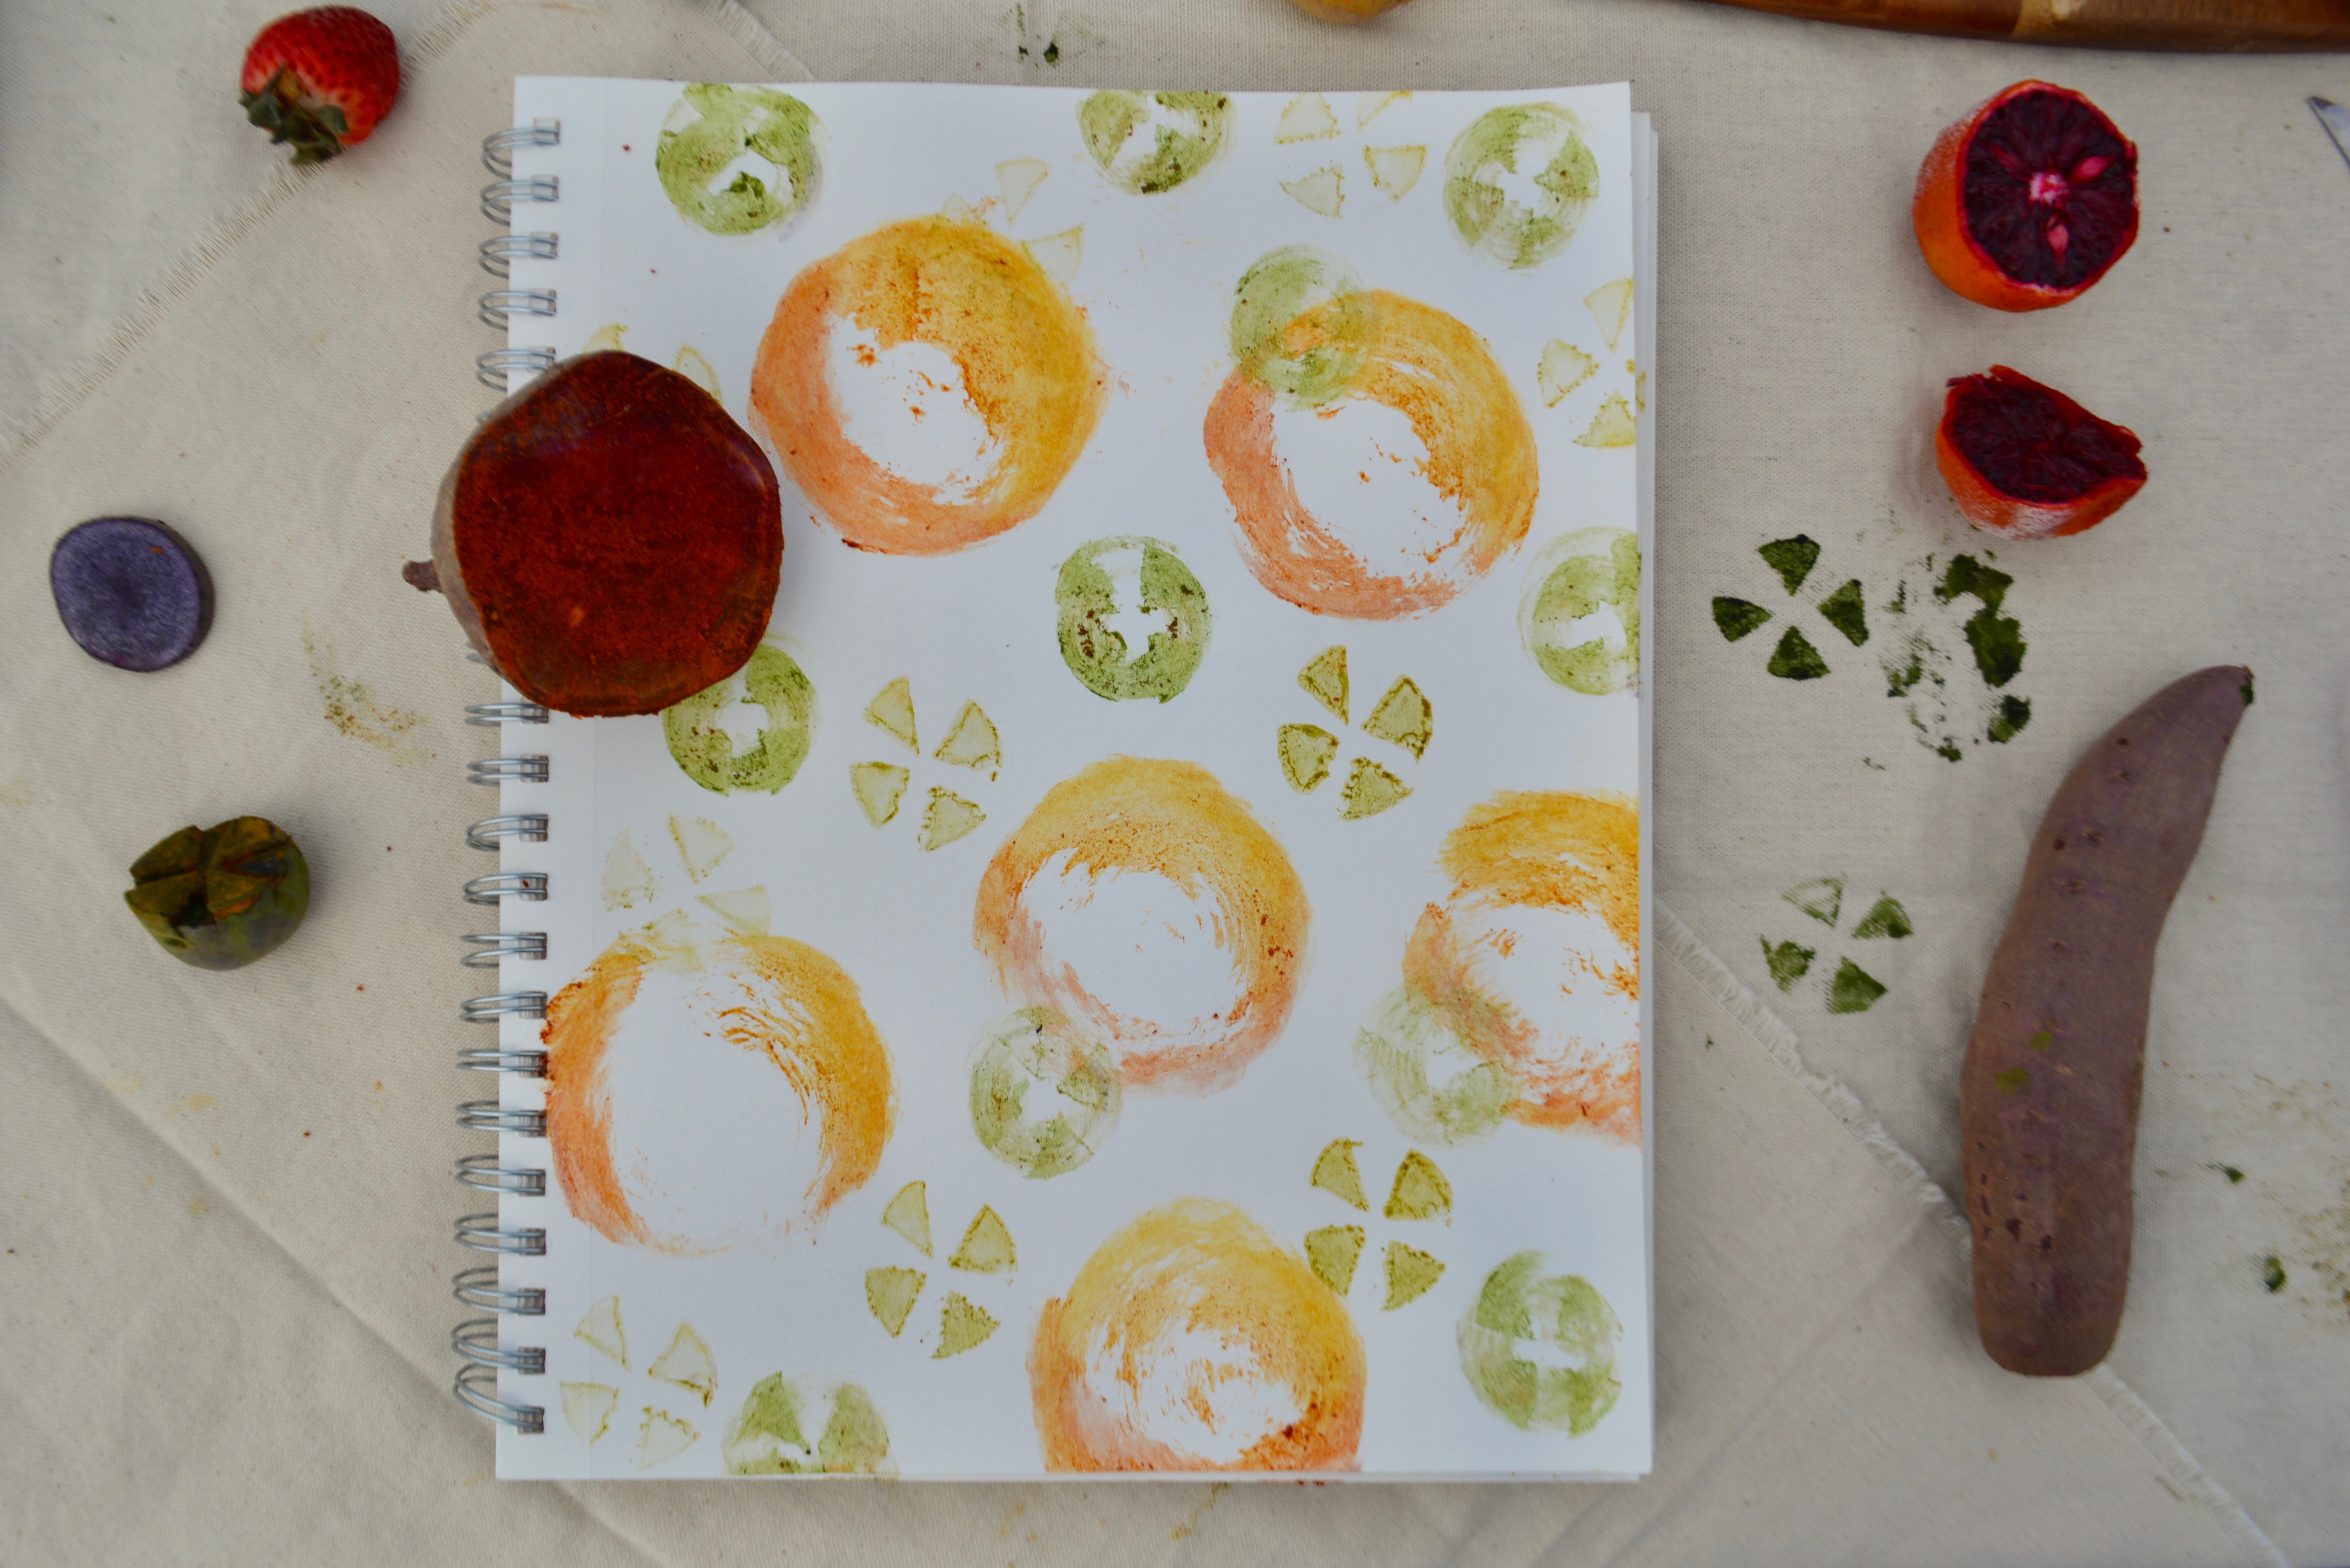
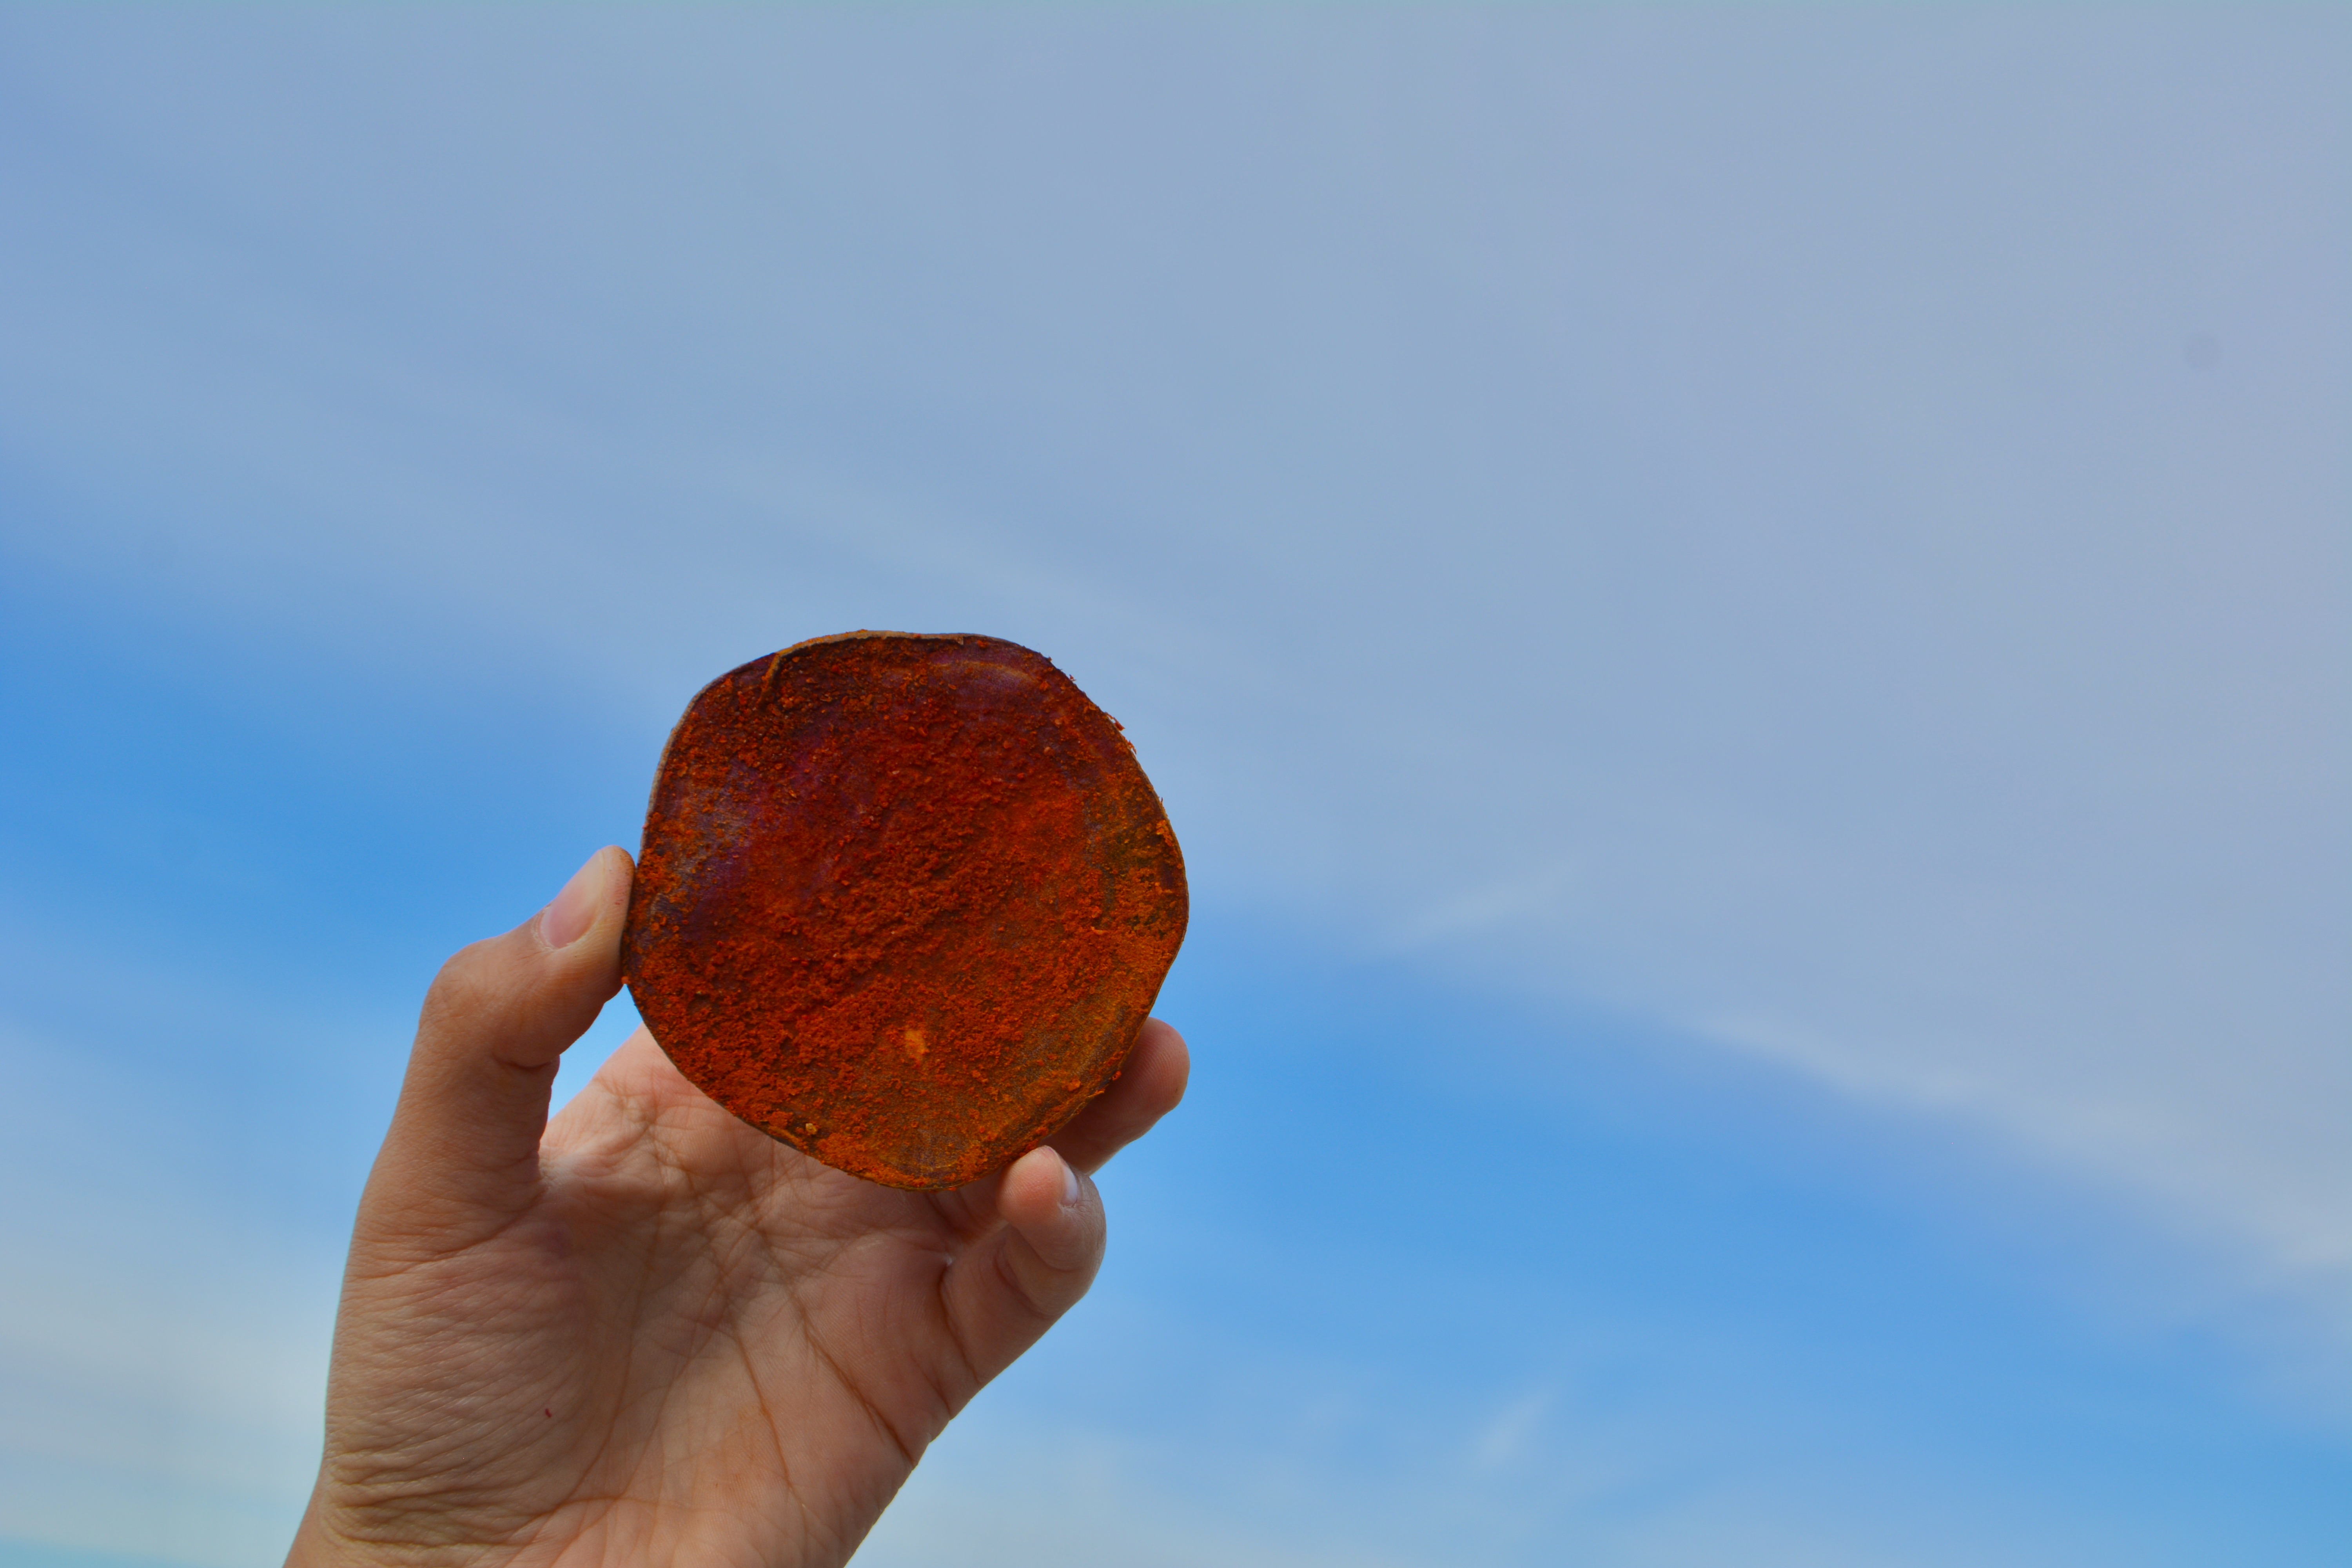
2 // Cut potatoes—
Cut potatoes into halves (at least). Optional: carve relief design into the exposed surface of the potato for more intricate and detailed prints.3 // Optional technique for a more even application to printing surface—
Lay application surface (your paper or fabric) over a towel/cloth for a more even application of paint.
4 // Apply paint to the potato stamp—
Unless you desire only to use the existing pigment from the potatoes. Apply using a sponge, brush, your fingers, or solely by dunking into the container holding your paints.
You may want to dab excess paint onto a separate cloth.
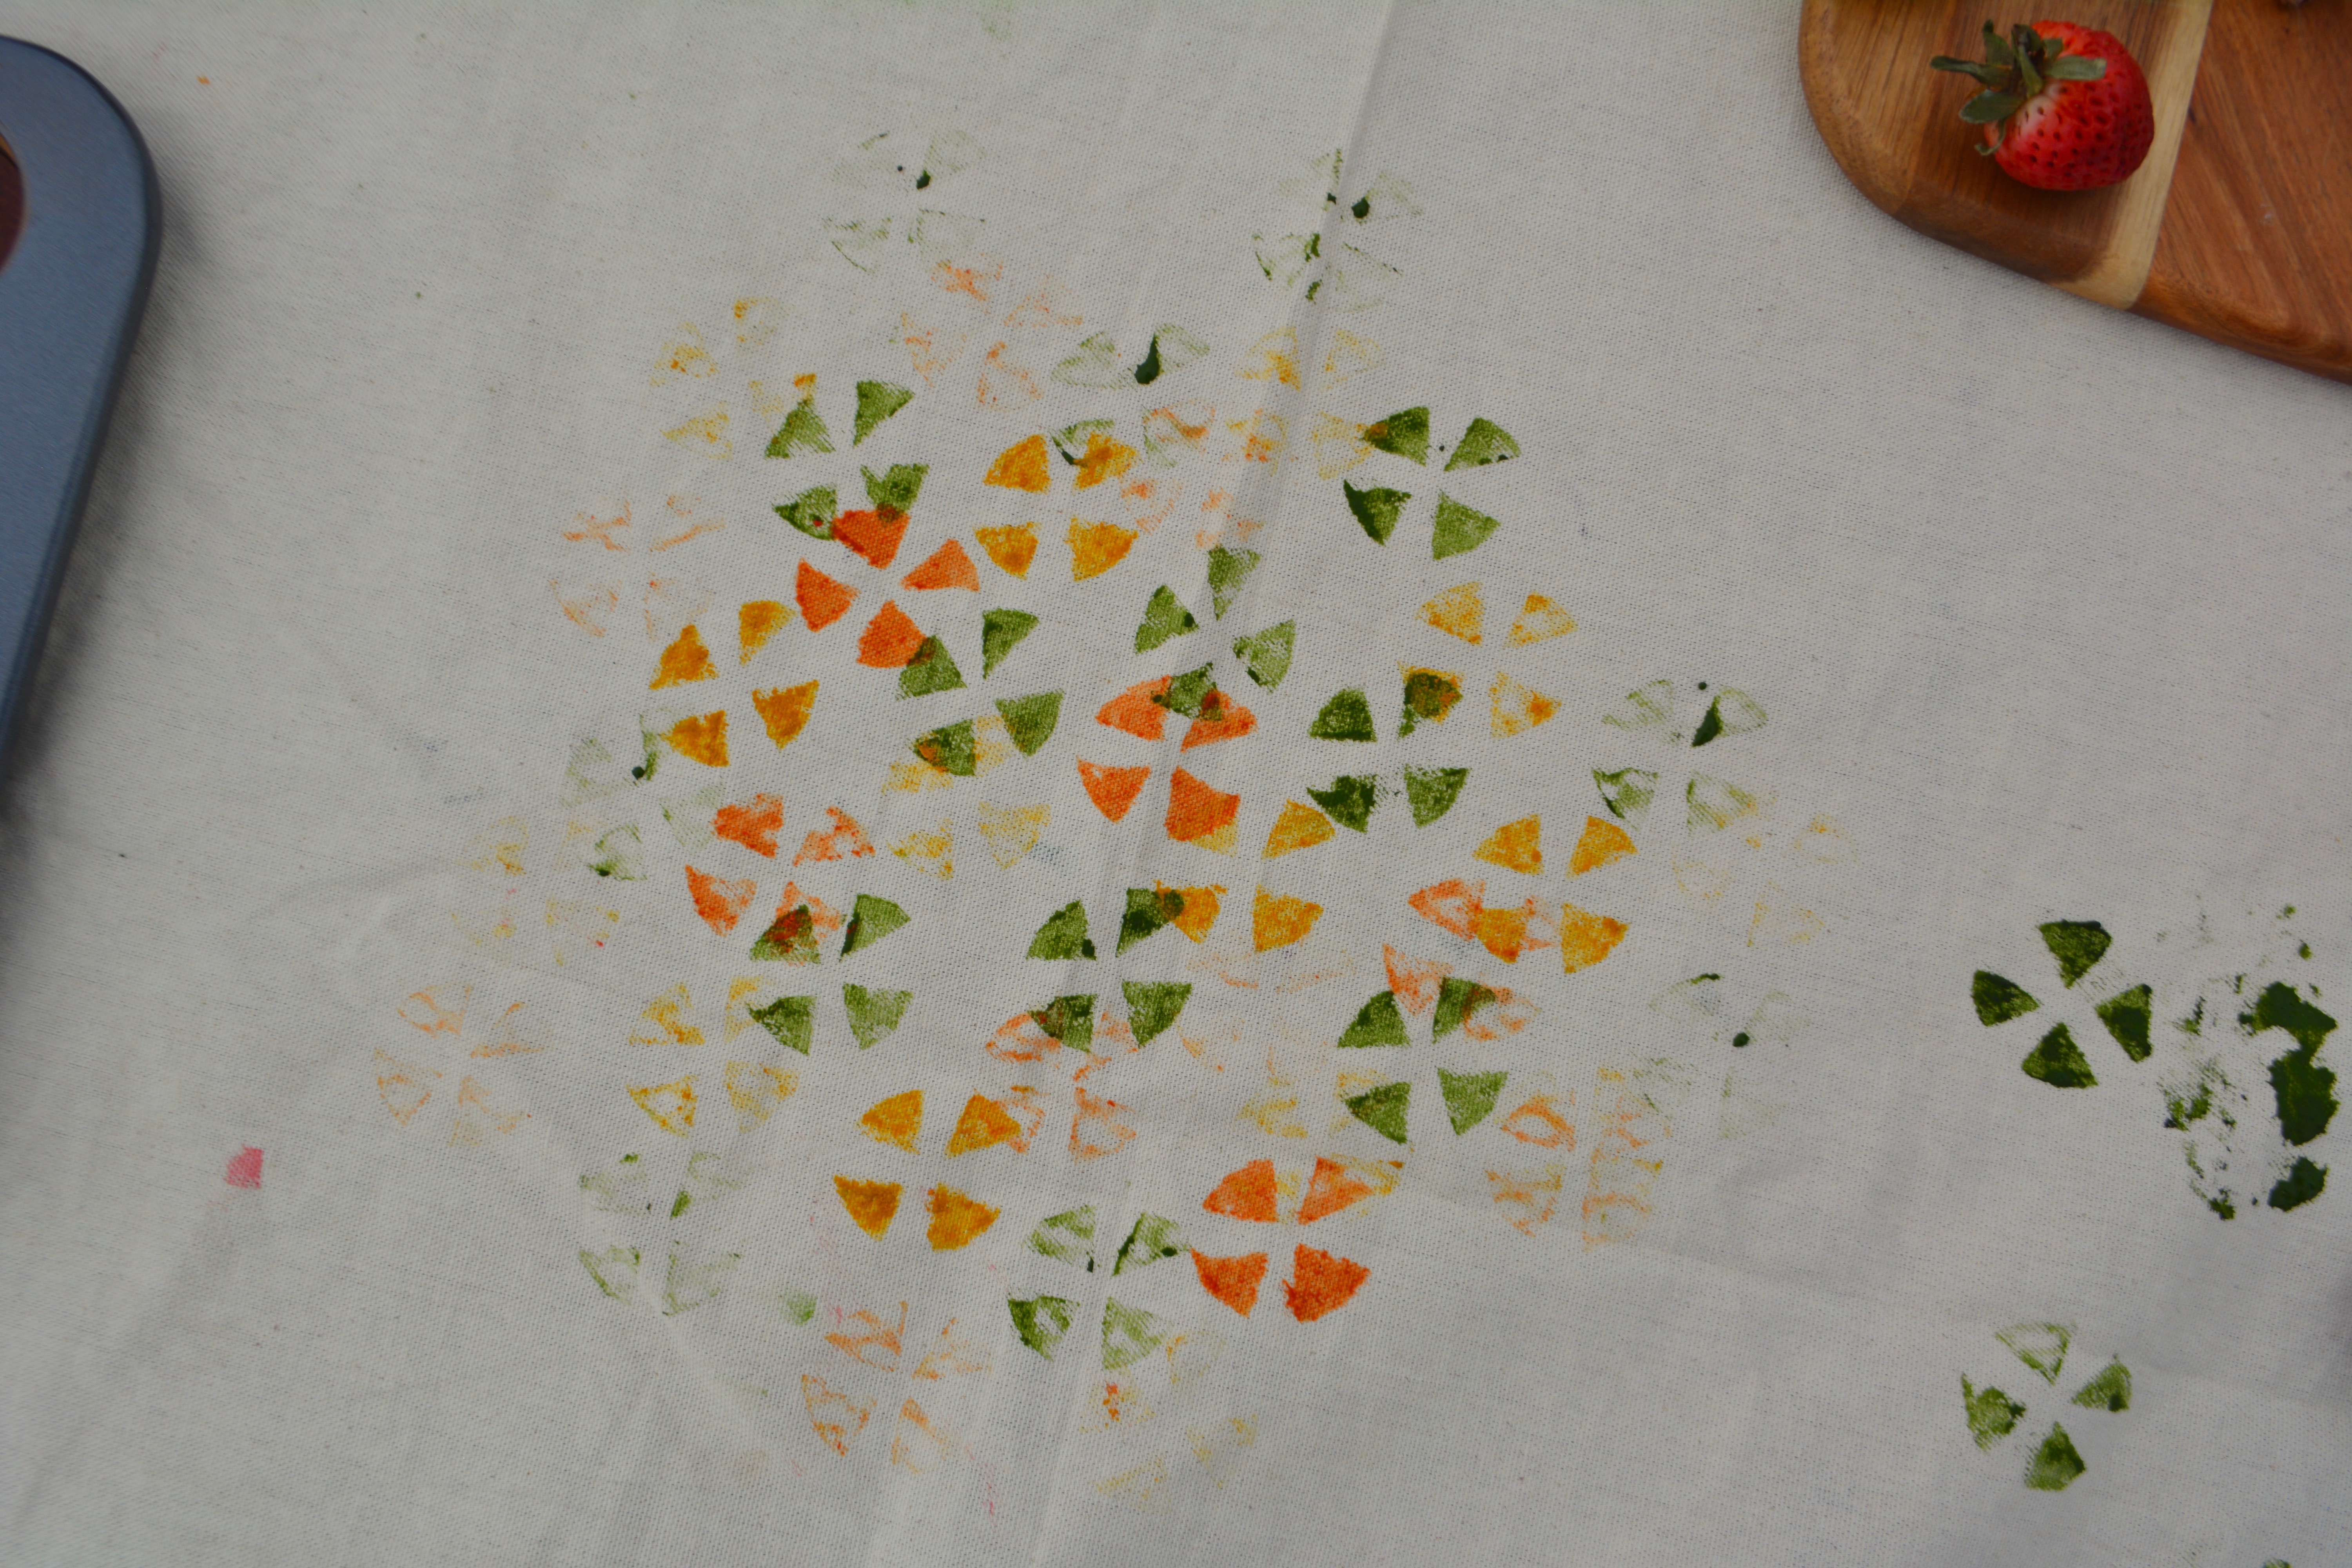
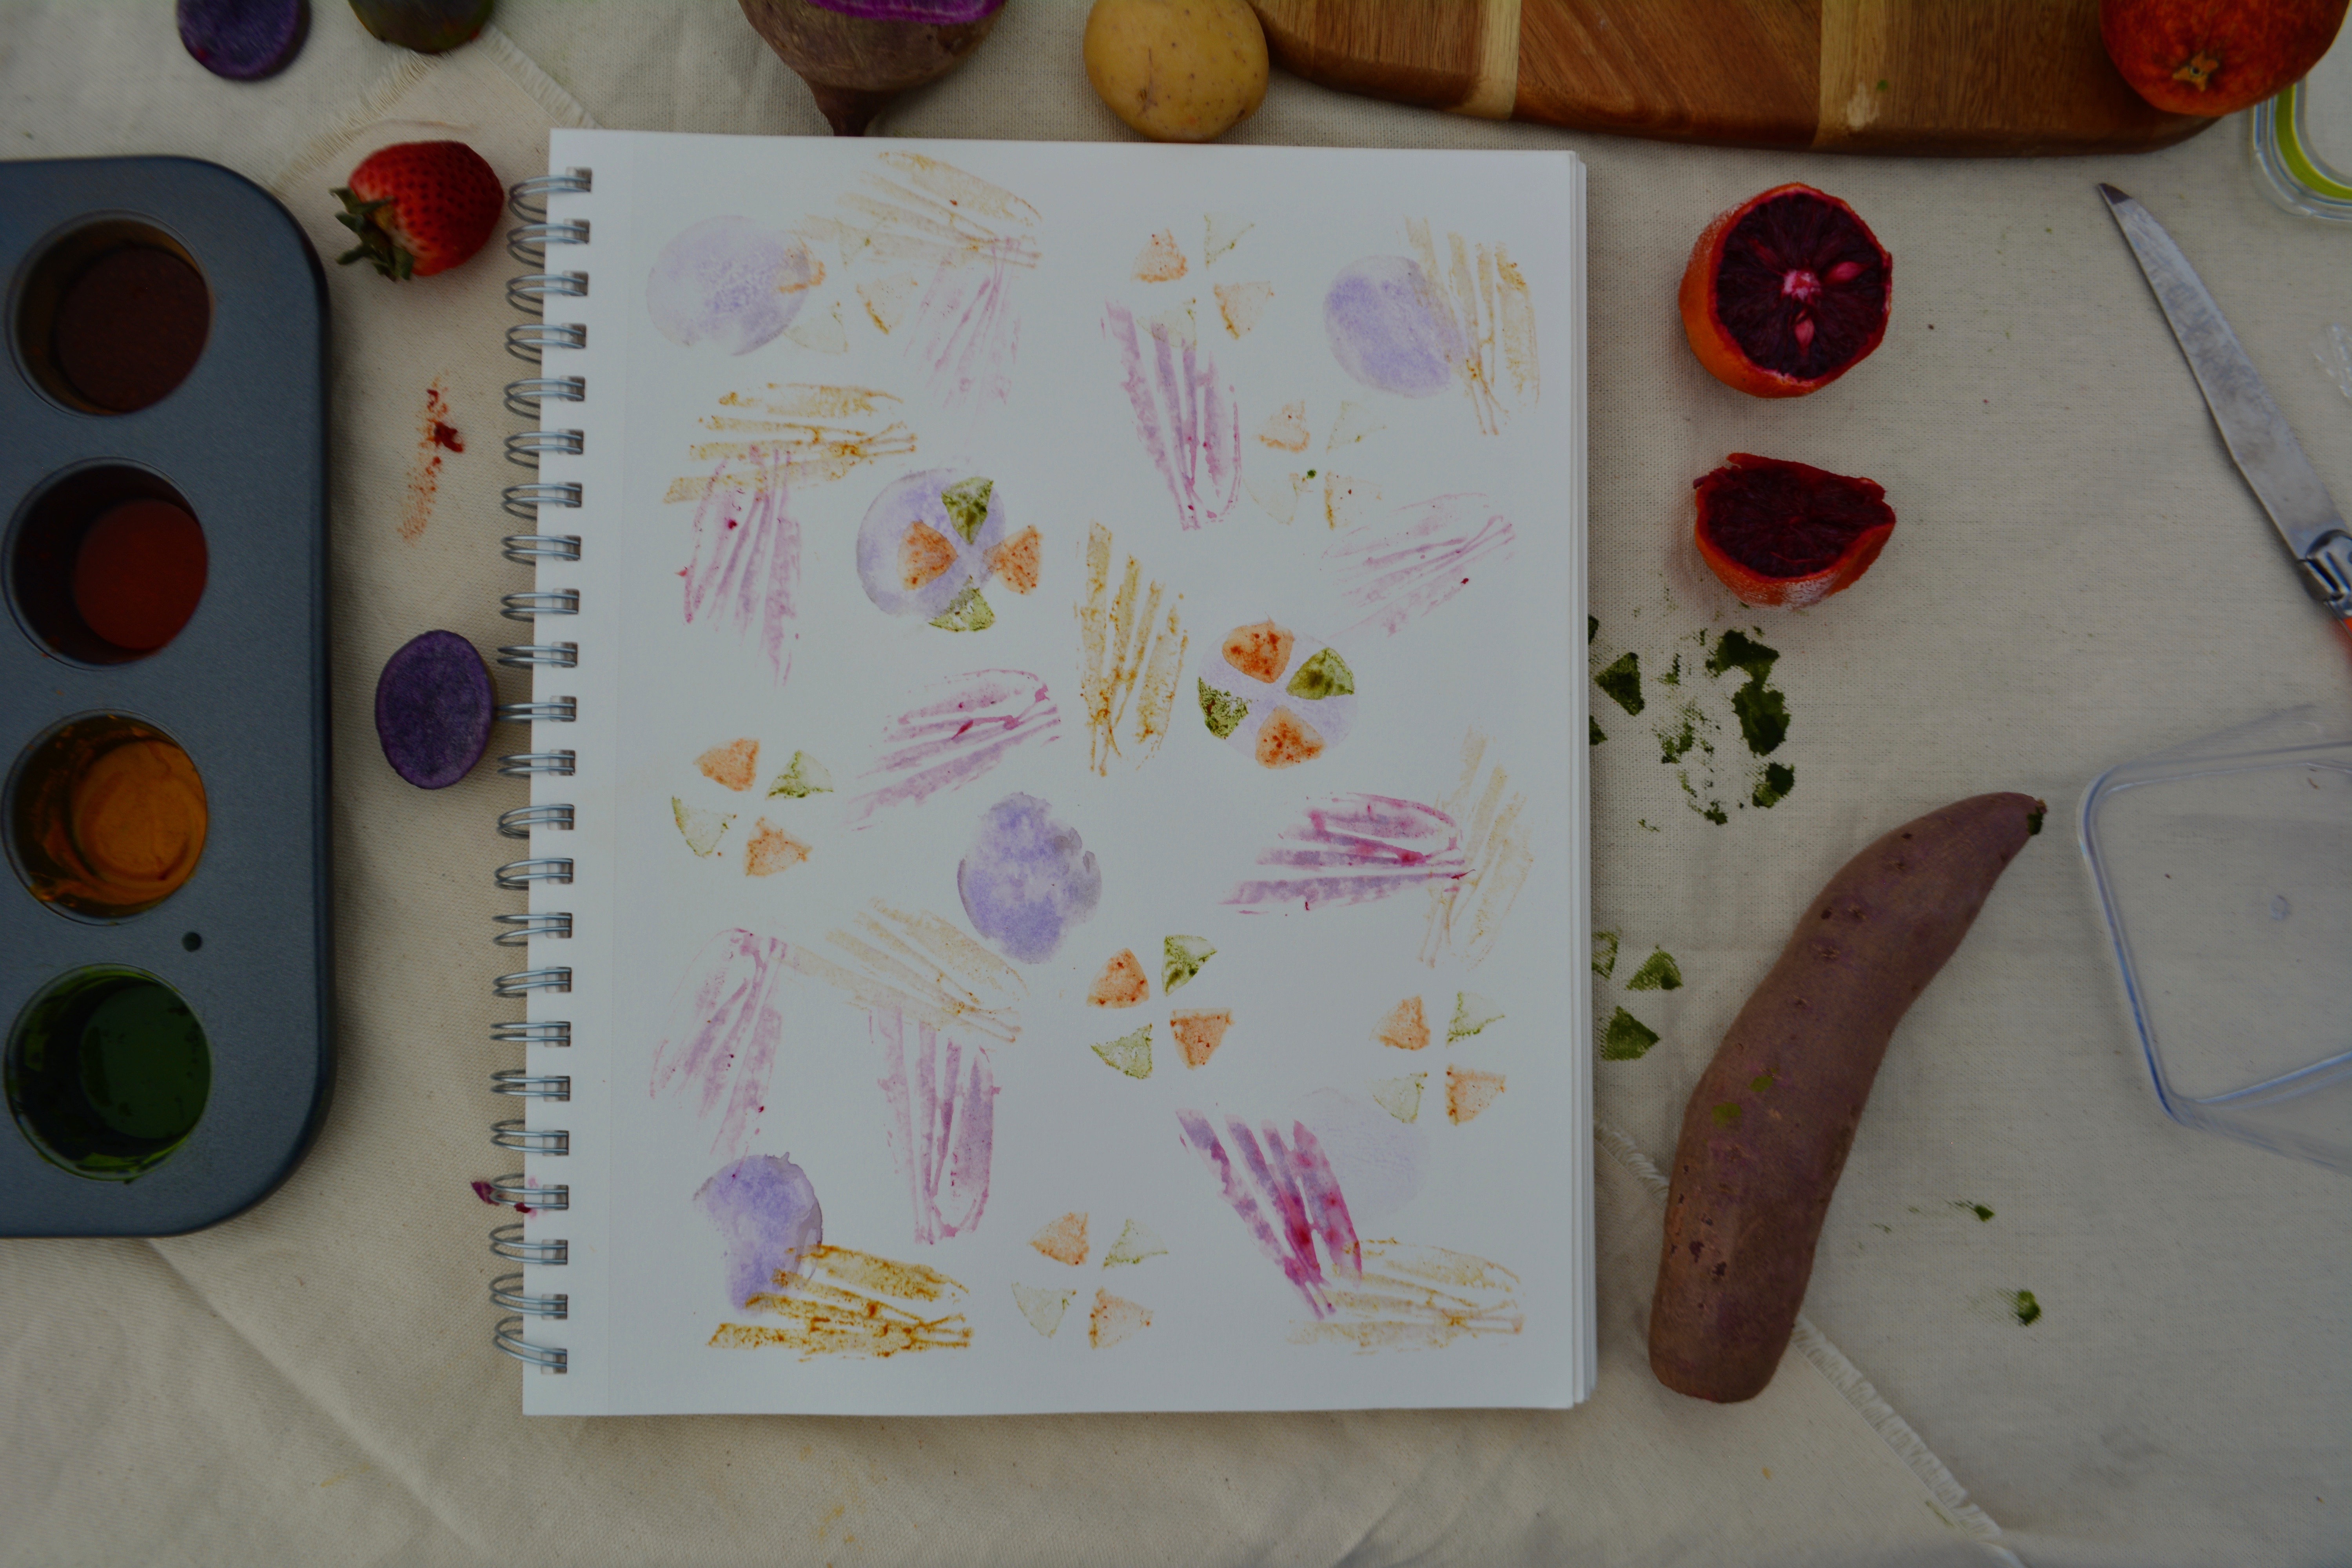
5 // Stamp!
Firmly press the potato stamp surface to your paper or fabric, pressing down more intensely for thinner paints.
Optional: drag/spin/move potato stamp on surface to create additional patterns and textures.
6 // Let your piece dry.
Once dry, gently brush off excess food/spice particles if needed.
You’re all done!